It’s a new year, and I swore I would update this god forsaken website more often. And here we are. Three weeks into 2020. Zero new things posted. And OH boy am I ready to give up already.
Just kidding! I’m fine. Everything is fine. Let’s talk Faderbank 16n!
Honestly I love this thing. I had heard about it through a friend who wanted me to throw one together for them, and I was surprised it hadn’t crossed my radar before then. DIY is my middle name after all. Just kidding – it’s Charles! What a joker I am today!
The Faderbank 16n is an array of 16 faders that control 16 individual CV outputs. These CV outputs will give you 0-5v depending on how you set the faders.
And GET THIS. Simultaneously, the 16n sends MIDI data over USB from these 16 faders!
And if that wasn’t enough GET. THIS. There is a 3.5mm MIDI/I2C output which can also simultaneously throw MIDI in 16 CC directions! JUST WILD. All in all you can control 48 parameters at once, all in one cute little monolith!… Slab? Mono-slab? Not sure.
But let’s get to the goods, let’s talk build.
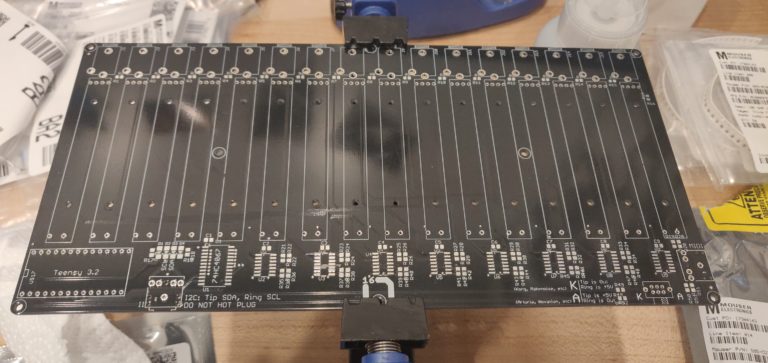
First I gave the PCB a good wipe down with isopropyl alcohol. Then it is time for the 8 dual OP amps and the multiplexer chip! Gotta get those ICs in there first, minus the Teensy. More on that later.
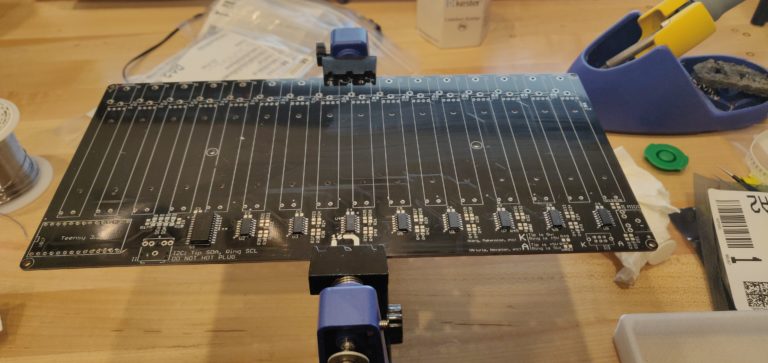
Good start! Now we move onto the smaller components. The SMD work isn’t too bad on the Faderbank 16n. No 0603 footprint components, NOICE. Let’s get these capacitors, resistors, and all the other little guys stuck on there.
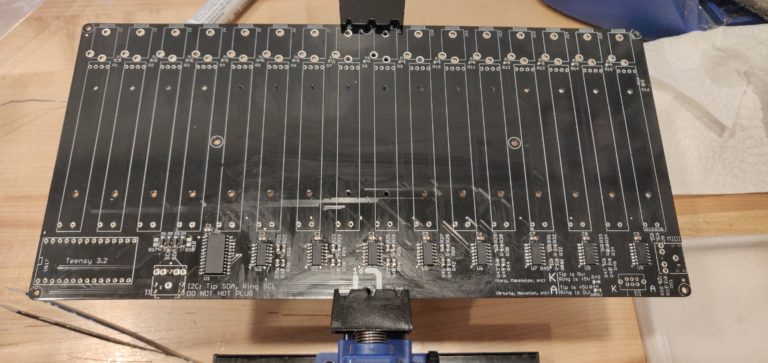
The more eagle eyed of my non-existent readers will notice a couple resistors missing near the MIDI/I2C connection. This was a necessary omission for the version of PCB I have. Others may or may not be the same! Check your version, read the documents!!!
Now, time for the jacks and other hardware! For the 16 CV jacks I used taped to keep things nice and straight during soldering. Very hard to keep those lil’ puppies in line if you don’t do something like this.
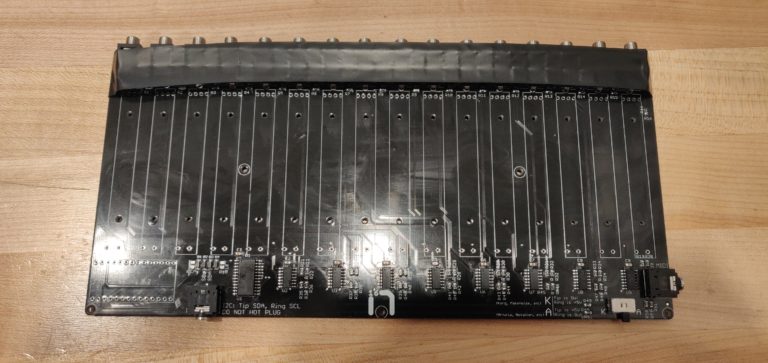
All tidy and ready for what everyone has been waiting for. 16 faders. 1-6. FADERSSSS.
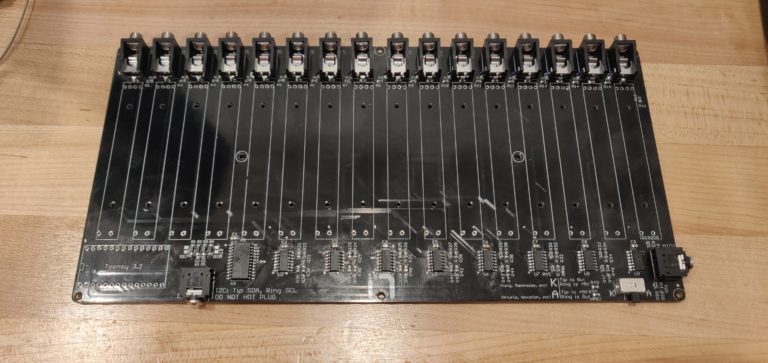
OK the tease is over. Here’s the goods.
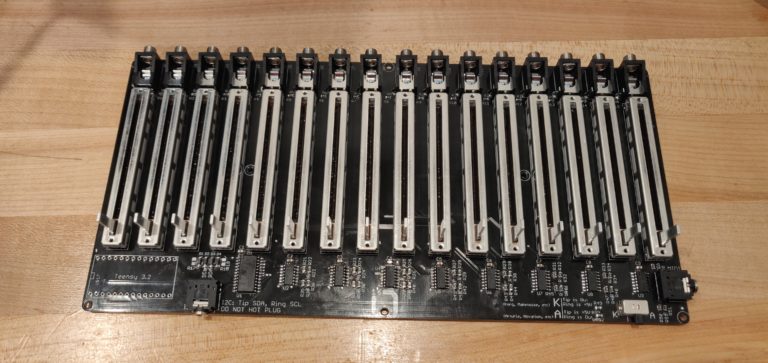
Oh BOY. What a blast that was. “But wait Steve”, you say, humble reader. “What about the Teensy?”. Great question. And I have great answers.
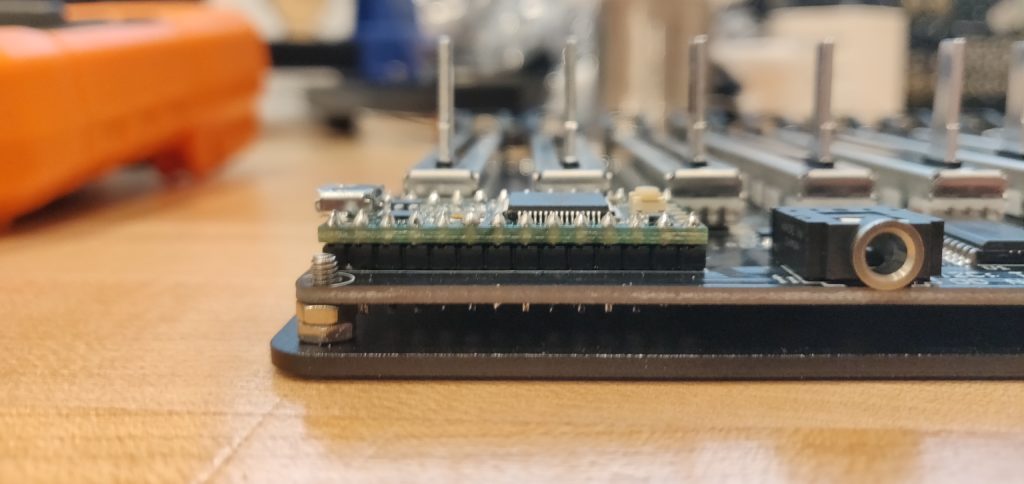
The brains are now installed, and it’s time to control a WHOLE bunch of devices. OH WAIT. We have to flash the goods onto the Teensy, or else we just have a big old chunk of mindless hardware.
Forgive me for not taking pictures of this process, but it wasn’t too bad! In the Arduino IDE, I added the RepsonsiveAnalogRead and CD74HC4067 libraries. I also installed the Teensyduino add on for the Arduino IDE.
From here it just was a matter of uploading the “16n.ino” file to the Teensy, and we’re ready to close this puppy up!
Quick little tidbit, you can edit the channels MIDI messages are being sent on by editing the “config.h” file before uploading the “16n.ino” to the Teensy. All this information and more is on the Github for the 16n, but I need to type something between the pictures, so… forget I mentioned it… PICTURES:
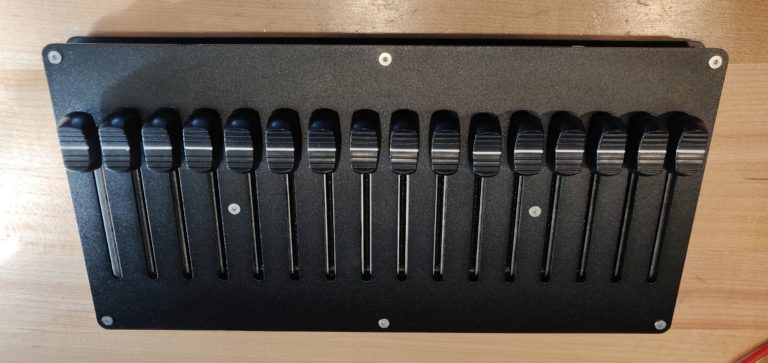
I know what you’re thinking, loyal reader. “This is almost perfect, if only you had some rubber feeties on there Steve.” What a beautiful idiot you are, reader.
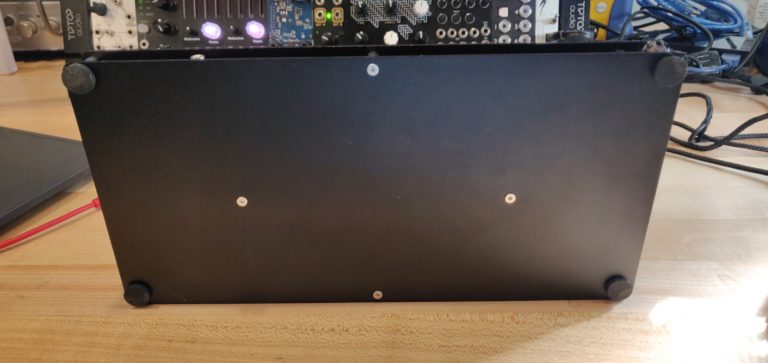
What a ride. Honestly I wish I had the space for this thing, because it’s great. One day I will re-build/re-purchase the 16n. But for now, my 16n will be sent to that big ole’ Craigslist Farm in the Sky.
All in all solid build. Would build again. Would recommend. Gotta love it.
Threshold, Antumbra CARA + KNIT + ATOM, Blue Lantern Advanced Yarns, and Mutable Veils build, all coming down the pipe soon! I PROMISE I’LL UPDATE MORE CONSISTENTLY. PROMISE.
Quick Links
Mouser BOM – No Jacks or Knobs, lots of extra capacitors and resistors
