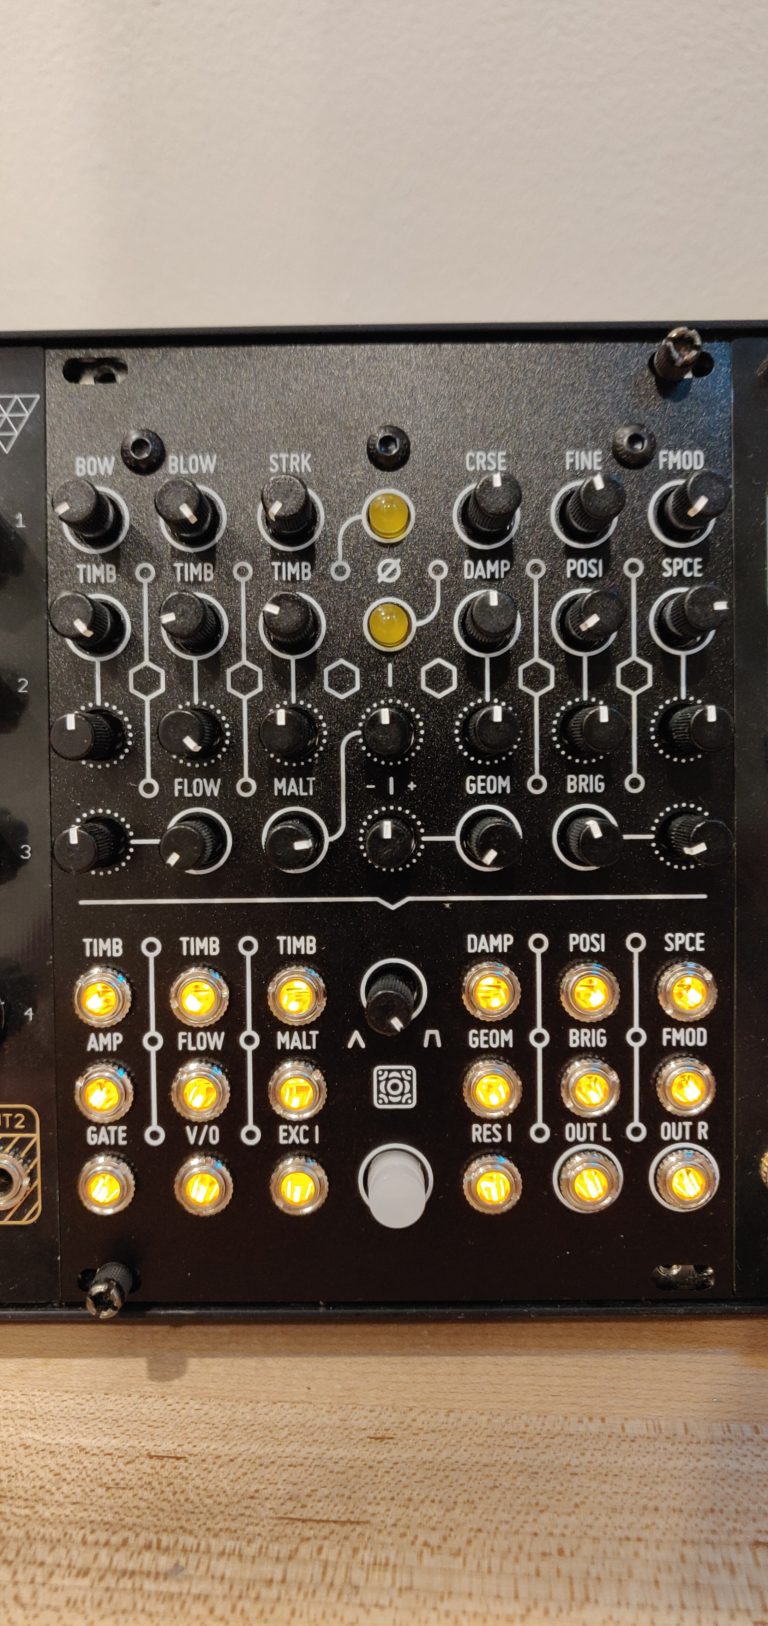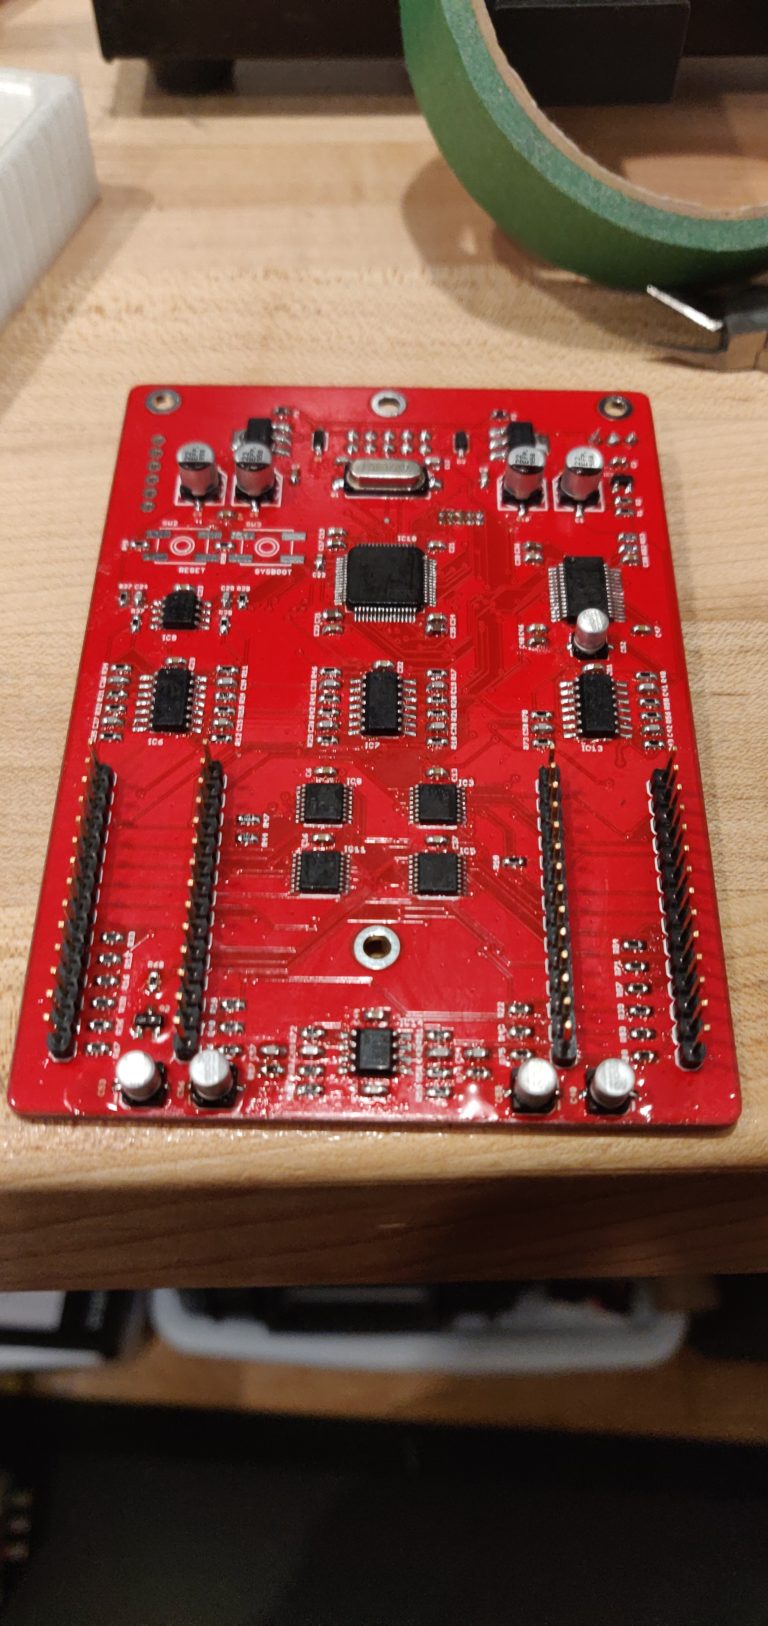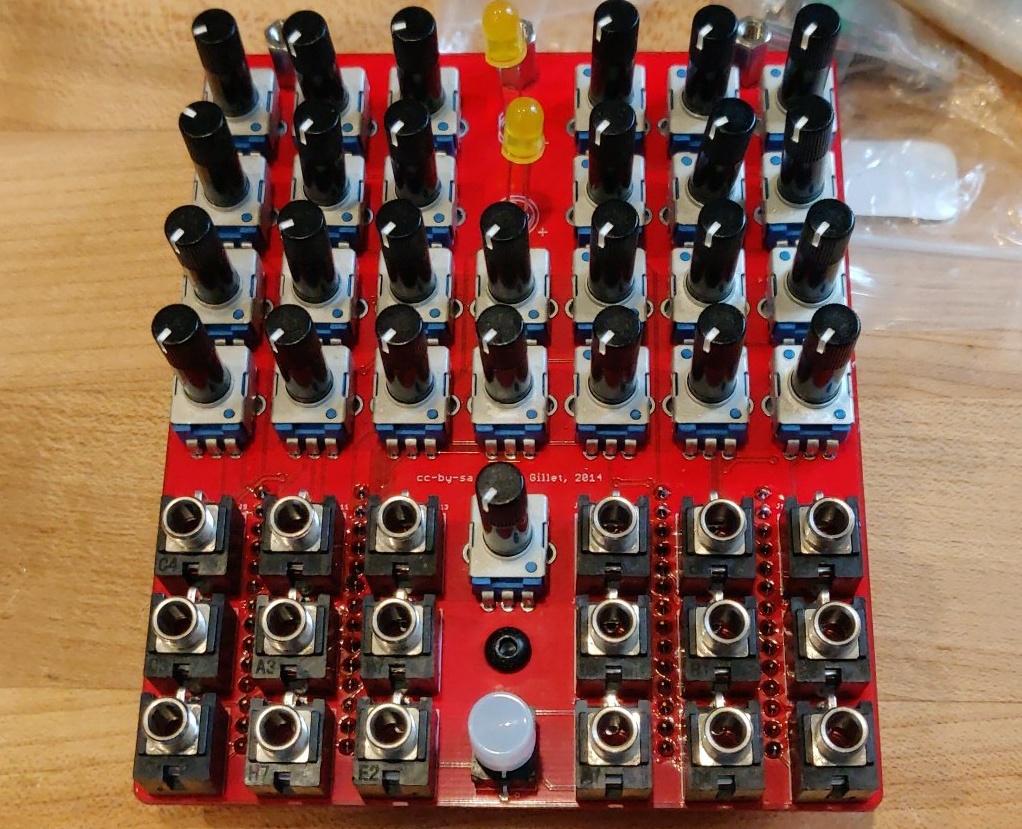
Very straightforward build because these Antumbra modules are just beautiful. Sadly the LED was dead on the push button, BUT HEY, I’m blowin’ and bowin’ and strikin’ all over the place.

Flashed it nice and easy with the mutable-dev-environment and an ST-Link V2 via JTAG.

I used center detent pots for all of the attenuators, makes it feel as sleek as it looks. Lit up jacks AND center detent pots?! I’d jack CV into this puppy until the cows came home.
I don’t know what that means. I just like the Antumbra ATOM a whole lot.

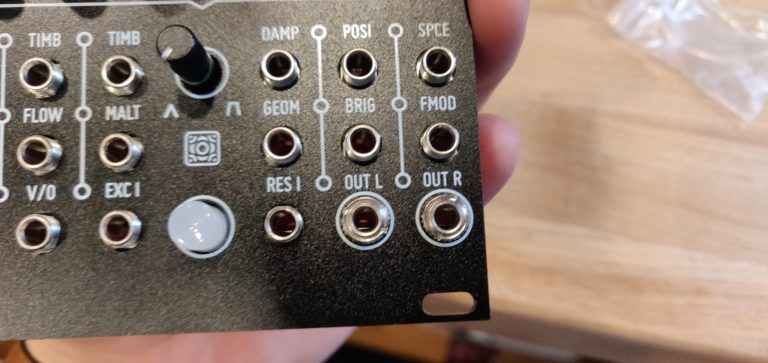
Quick little tip when it comes to these jack outlines. Before soldering, put the nuts on the jacks you need to line up under these outlines and tighten them snug, but not too tight (don’t want to scratch anything). From here, move the face plate so that the jacks are centered perfectly, then put your nuts on the rest of the jacks like you normally would. Common sense? Maybe. Do I need to fill space between pictures? Absolutely.

All in all, I have to say I love the Antumbra ATOM. It was easier to build than the original Elements, even though it is squished down into a smaller form factor. The layout is great, and even with the smaller pots it is still very playable.
A friend mentioned how intimidating this layout might be to a first time Elements user… but as a long time Elements fan, this redesign is exactly what I needed to get Elements back in my rack. So maybe not the best into to Elements for the new user, but oh boy does this thing look and sound beautiful.
Thank you Antumbra. Thank you oh so very much.
Quick Links
Mouser BOM – No pots, jacks or M3 screws
