11 diaries deep and we are running low on fresh content, so here’s a way back play back. I built myself a little DIY Eurorack lunchbox case about a year ago. What is a lunchbox? Don’t even start with me. You know what it is, you’re here.
But if you don’t know, a “lunchbox” is a cute little Eurorack case with a handle. In not so many words: it looks like a lunchbox. It started with Pulp Logic’s case, and according to the public registry of euro-rackery, it saw its first release around August 9th of 2012.
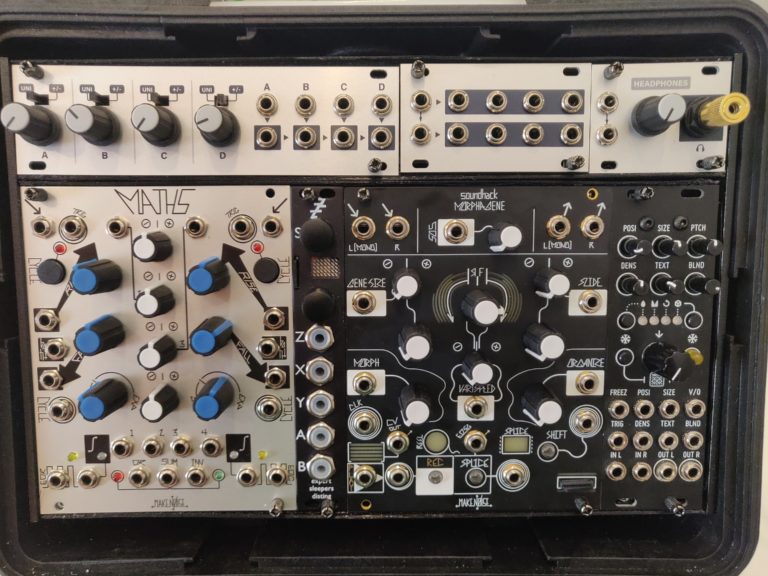
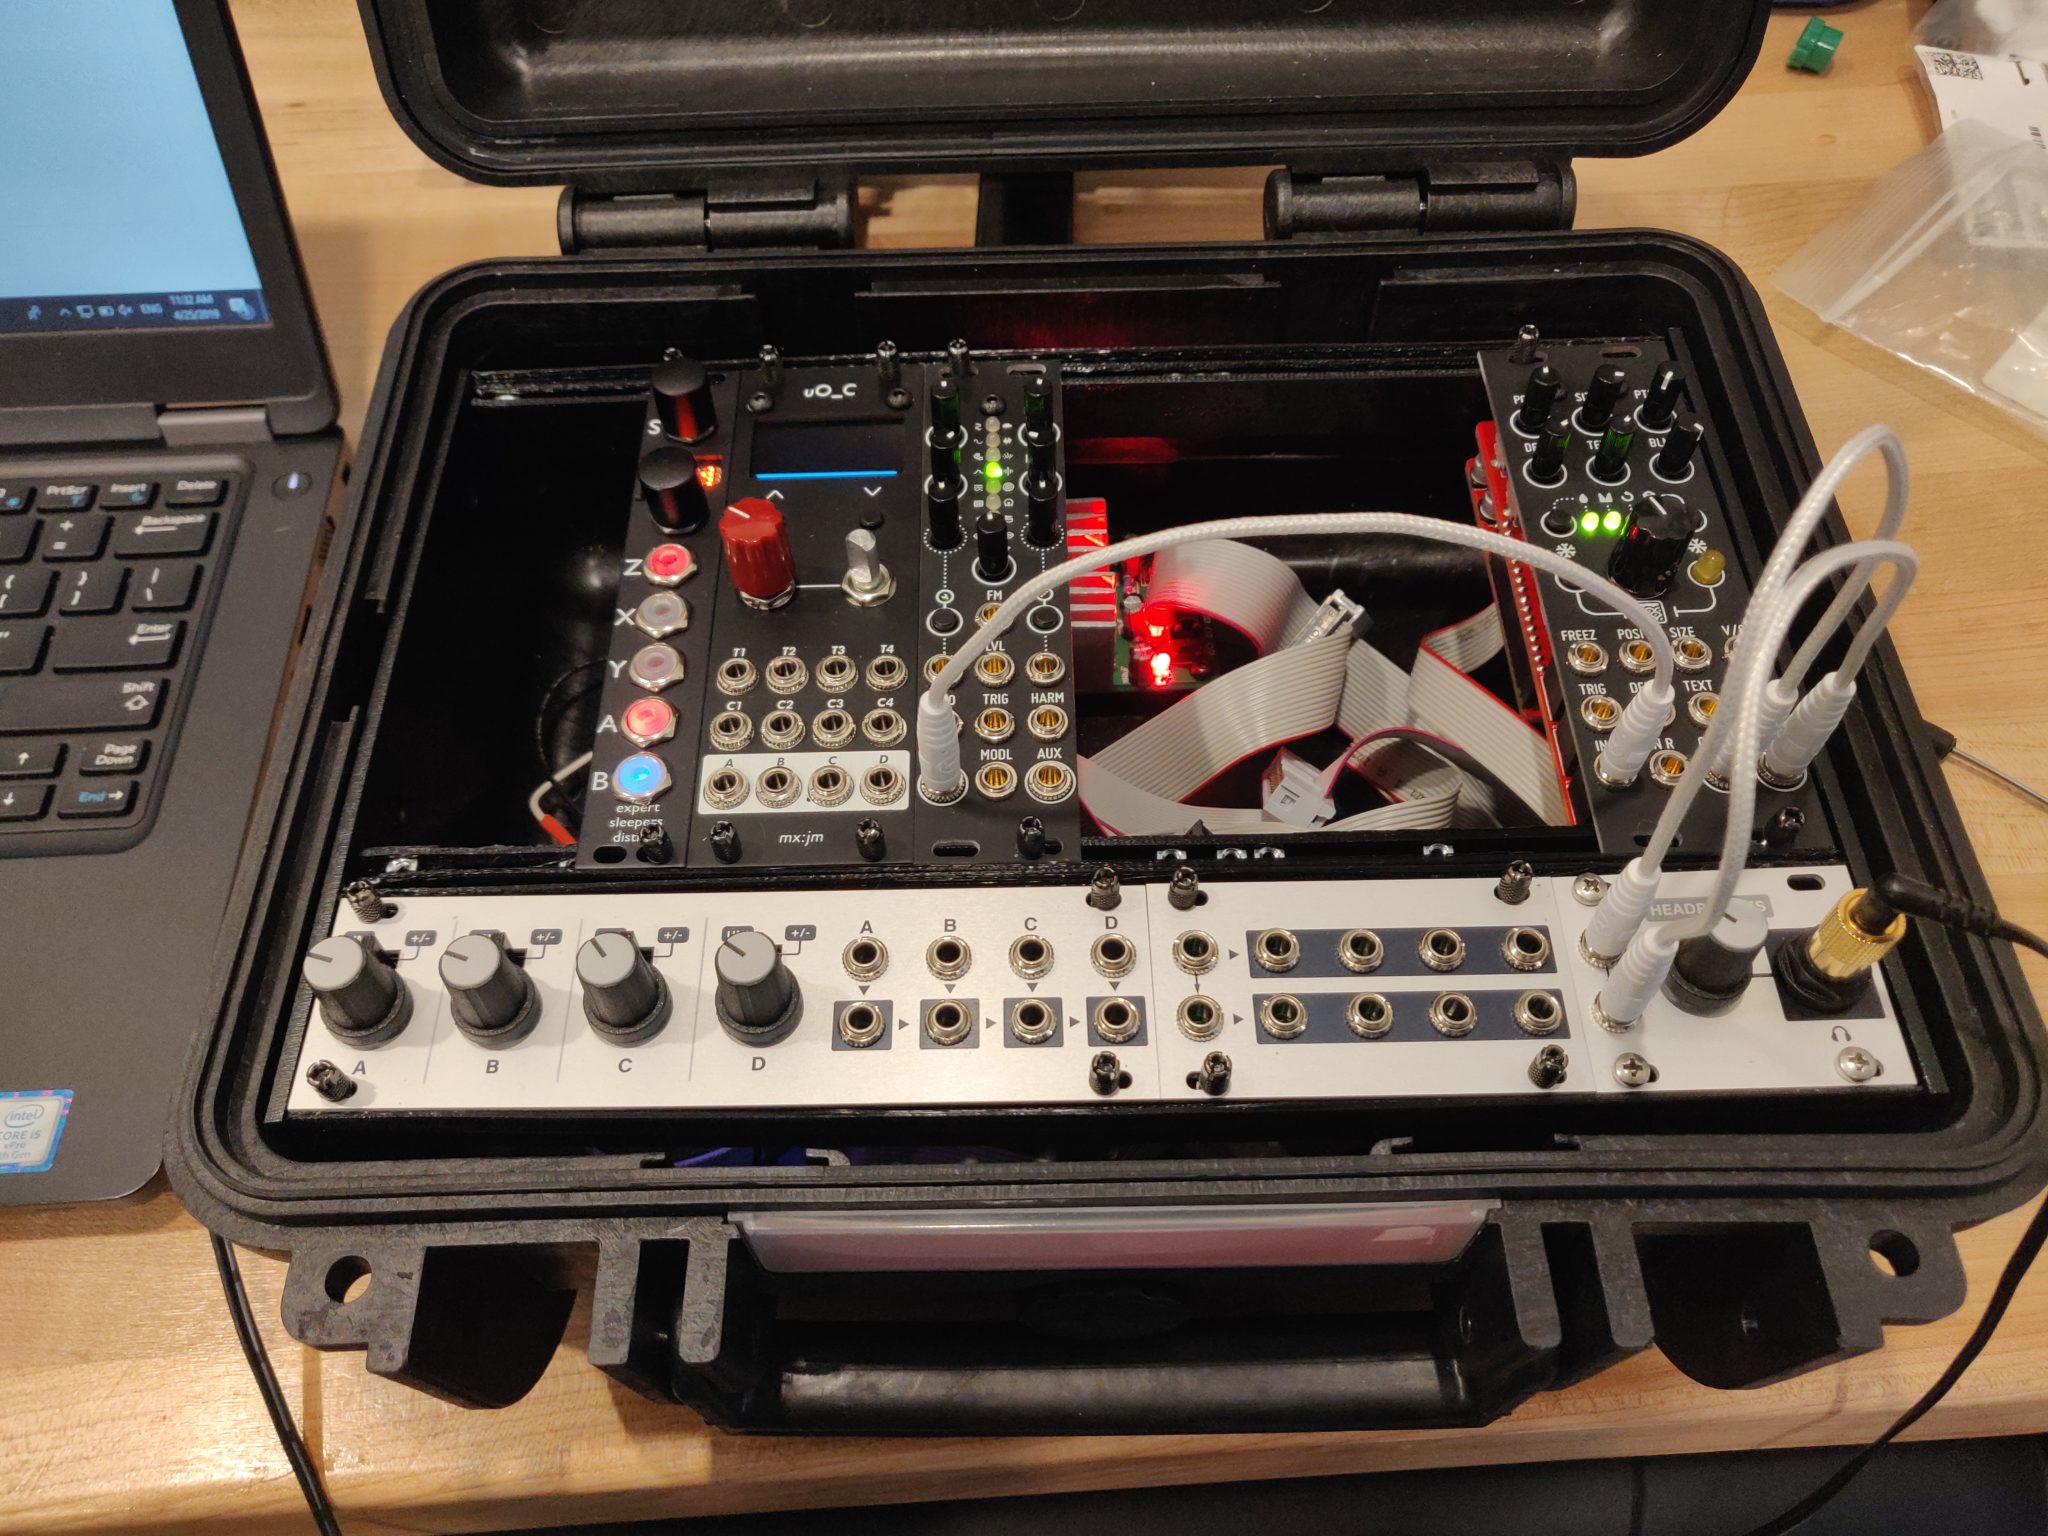
But enough of the history lessons. I made my own! 52HP, 3U + 1U Intellijel format.

Nothing too special going on here to start, but I did 3D print the rails which saved some money. In the end, I wish I hadn’t printed them. They weren’t nearly rigid enough for my liking, although they hold the modules well enough.

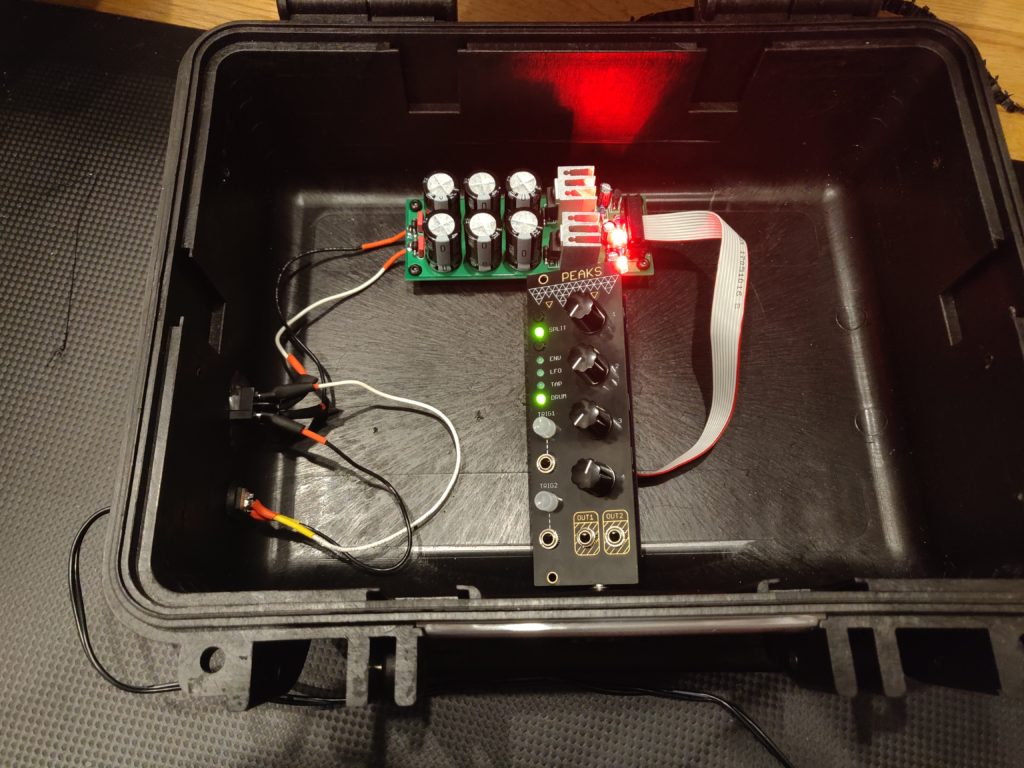
For those sweet sweet amps, I went with some Frequency Central power. I cannot recommend it or Frequency Central enough. Great products, great people (person?).
The power section build was simple as can be. Got it wired up, and installed into my little Amazon Essentials Camera Case, and we’re good to go!

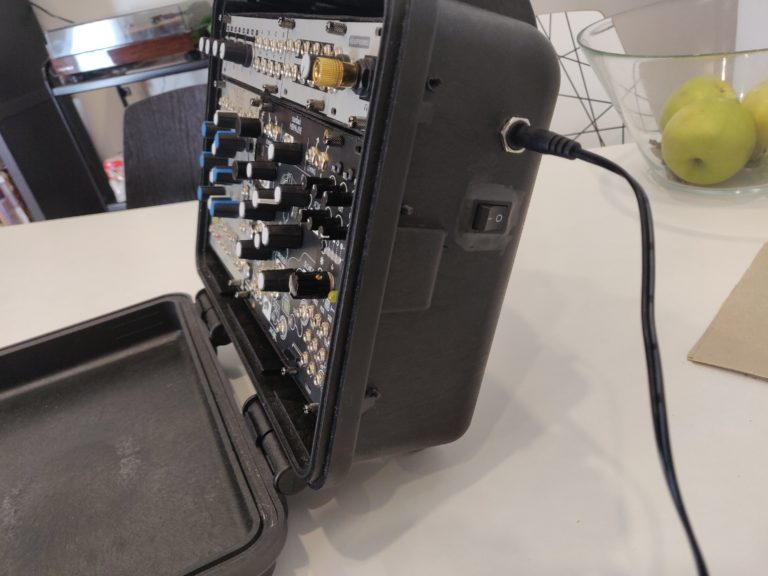
I even got a cute little switch button wired up, because you gotta have a flip switch. Something springing to life the moment it’s plugged in just seems… wrong.

And there you have it! One DIY Eurorack Lunchbox. A little rough around the edges are far as something you plug into the wall goes…but hey, it’s been working wonderfully for me for over a year now.

One other little gush on the FC power, it really does push a good 500mA. I had a nice little configuration going that was drawing 505mA, and the FC power didn’t even hesitate to sneeze that out.
Not that you should be pushing this thing past 500mA or anything… I did it for science. I doubt your pursuits will be anywhere near as noble or pure, so just don’t do it!
Quick Links
3D Printed Gie-Tech-Like Rails (I modified mine before printing to fit the 1u tiles)
