Last modified: 12/02/2020
8/27/2019
Stripboard Synth
I’ve built my fair share of circuits. I think my first one was a fuzz pedal that immediately got me hooked on this stuff. And by immediately I mean I made the fuzz circuit when I was 13, and then didn’t pick the hobby back up until I was 19. Love at first sight.
That being said I’ve been a little obsessive over DIY since my early 20’s, and all those little bits of knowledge accumulated over the last decade or so push me a little further into new and weird projects.
This brings us to my first fully documented project!
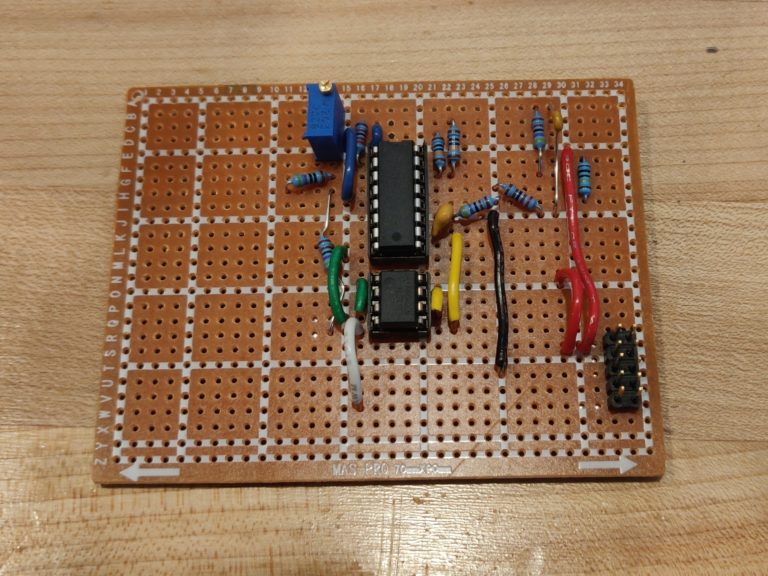
So far, the planning and some slight prototyping has been done. I threw together the stripboard layout you see above to test a Simple CEM3340 Oscillator. It didn’t go perfectly… but that was my own fault for playing loose with the resistor values. Still, we are on the road to a fully blown synth voice! Updates as they come will be posted to this page. Stay tuned. This page will be updated as we go.
12/2/2020
I’ve noticed this page is getting some action on the old interwebs lately, and I really don’t know when I’ll be back to it. So, I’ve decided to add what I was planning on doing to the tabbed area at the bottom of the screen. Hopefully anyone who is coming here to get ideas will find this helpful. Essentially they will be links to modules/layouts/threads that would be useful to that specific function. Hopefully it is helpful to all you Stripboard Synth hopefuls out there!
Second, here’s a link to the spreadsheet I was using to plan my own synth. Helpful? Maybe. A mess? Definitely.
Lastly, GO READ THE BLOG, SO MUCH GOOD SDIY
Sorry, didn’t mean to yell.
03/08/2020
Oh man. It was fun right? There’s just no space for this project right now. This summer I am moving to a much more workspace friendly spot, and I will revive this bad boy. With my current projects I am hoping to have a little custom PCB creation knowledge under my belt as well, so maybe it’ll be a little less strip-boardy, and a little more tidy with ALL BLACK PCBZ ALWAYZ.
Go check out the Blog, there’s always some fun stuff happening there, full frontal PCB shots and all.
12/15/2019
Don’t you love it when you get a whole bunch of cool stuff updated and into your blog on your stripboard synth, possibly the most groundbreaking instrument that will be brought to the audio market in the next 30 years, and it all disappears because you pressed backspace twice and forgot to save? What a life.
I’m mad at you now fictional reader, how dare you make me type this again. Yes, this has become your fault somehow. You know what you did, no sleeping in the bed tonight. Bad reader. Very bad reader.
ANYWAYS. Life has gotten busy BLAH BLAH BLAH I like building synths still just have less time. Sure it’s the middle of December, almost 4 months since I kicked this puppy off, but that doesn’t mean I won’t get manic one weekend and bang out 80% of this puppy. THIS ALL FELT SO NATURAL THE FIRST TIME. You better believe I’ve saved 13 times since I re-started.
I had some sense talked into me by a friend who also happens to be an extremely talented composer/musician, Walker/Grimshaw. Rather than create separate modules, it will be a single unit monosynth that is Eurorack compatible. And he also offered, quite graciously, to design the panel when prototyping and creating the different components is finally complete. Should only take another 6 or 7 years.
Get this. Protoboard is really more for prototyping. Isn’t that wild? Sometimes I just want to figure out one of these PCB software’s and pump out these puppies on something a little sturdier. But this is the stripboard synth dammit. And it’s going to change the state of music as we know it, so we soldier on through stripboard synth hell. Me and you, stalwart reader. Sorry about earlier, you know how I can get.
Will continue to update this as we go. And yes, I will continue to refer to most things as “puppy” or “puppies”. Standard synthesizer industry terms. So far the Envelope is created and envelopin’, the LFO is… it didn’t make it. We’ll get there though, that’s half the FUN. If it worked every time, or didn’t pop every now and then when you give it some juice where’s the excitement? No where. Lost to youth. What?
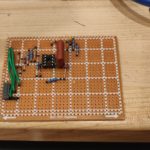
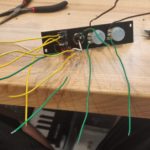
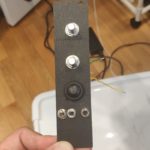
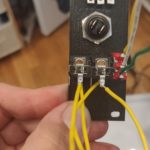
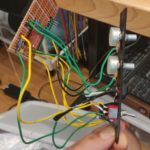
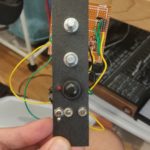
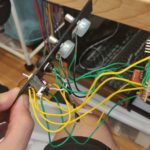

RIP little buddy. We had a rough weekend together, but I’ll never forget it. I will create your brother one day and avenge you.
Attack? Check. Release? You betcha. Ripped off Look Mum No Computer? That’s my brand baby! This little guy is based off the schematic found here and does it’s thing quite well for the simple to find parts that it uses.
The decay time could be stretched a little for my liking, so I’ll definitely swap out that cute lil’ 1uF capacitor when it comes time to put together the finalized versions for the full unit. I am definitely going to keep the button for triggering the envelope manually, love that little sucker. And I bought far too many.
Looking good though! This puppy is ready for the big leagues.
https://www.lookmumnocomputer.com/projects#/simple-envelope-generator
Cmaaannnn. You don’t need a link for this one. YOU’VE GOT THIS.
