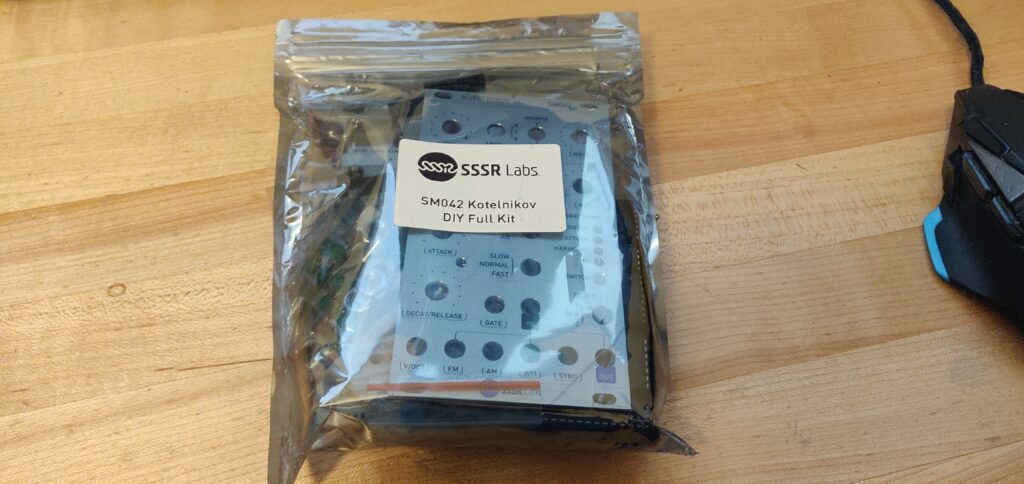
I always miss that third S in SSSR Labs, maybe it’s my lisp. HAPPY SUNDAY FRIENDS. We’re back in Russia today building some beautiful synth-action. What sort of synth-action say you? Well if the mouthful of a blog title didn’t clue you in, we’re talking about the SM042 KOTELNIKOV!
What a cute little kit!
Getting SSStarted
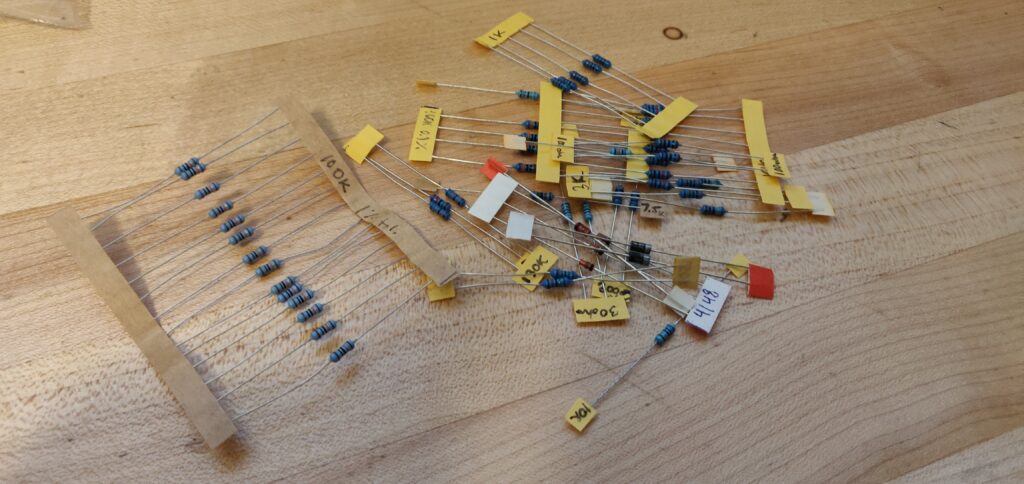
First things first, gotta get these parts sorted and measured. Kits are fun, but a little pricey for my liking. That being said, this was a build I am completed (SPOILERZZZ) for someone else, so I was provided the kit!
Now that all these little metal filmers' identities have been discovered, time to solder!
SSSR Labs have put together a fantastic build document, which I highly recommend. I wish I’d read it a little closer at some points… but this kid Icarus loves flying too close to the soldering iron, ya’digg?
All the cute little parts are in there. Not alllll the resistors though, some of those puppies go down later!
So far so good team! This KOTELNIKOV build ain’t going half bad so far.
On to the Good Stuff
What’s the good stuff? Not sure, just needed another heading. So let’s keep rippin’ and rollin’ team.
OH KAPTON MY KAPTON
There’s a lot of different ways to keep these parts in place. When it comes to resistors and most through hole parts, I like to tack the part down from the topside with solder. Sockets don’t dance that way sadly, so it’s kapton tape all day baby!
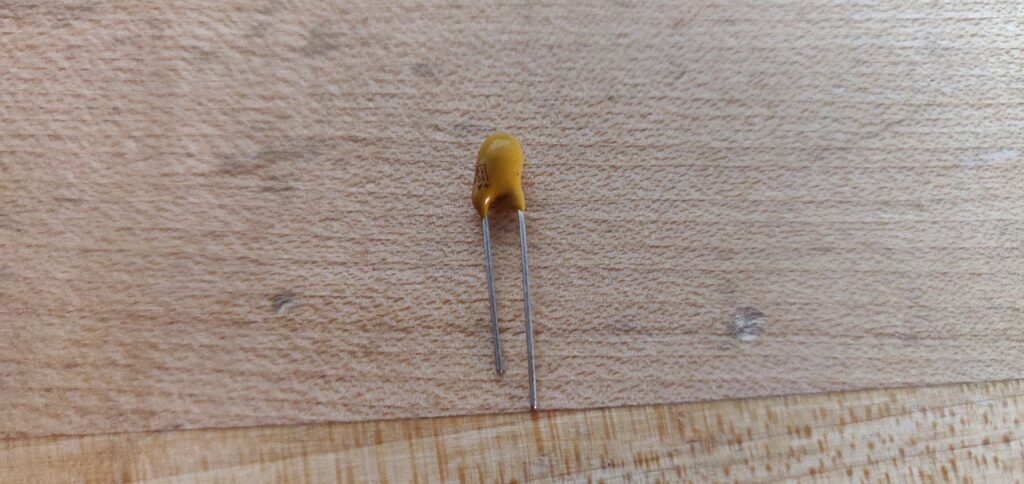
The build was going about as smooth as a build can go up to this point, but then a wrench decided to dive face first into my plans.
Uh.... where is that arrow pointing? Plus to the shorter lead? Oh boy.
Absolutely terrifying. I’m not sure if you know what happens when a capacitor is installed backwards…
And we're already dealing with enough problems in 2020!
Mutually Assured VCO Destruction
I posted over on Muff Wiggler, and got the general consensus that the short lead is the negative, as is generally the case. While this is all fine and dandy, I wasn’t about to take chances with someone else’s module.
TO THE BENCH SUPPLY ROBIN!!
Please don't explode...
I wired up the capacitor with the short lead as the cathode, threw a dish towel over top (to catch any bits/pieces in case it actually did pop on me) and threw some juice through it!…
NO EXPLOSIONS. Success. Let’s keep this SSSR train moving!
Back in Action, but Not Out of the Woods
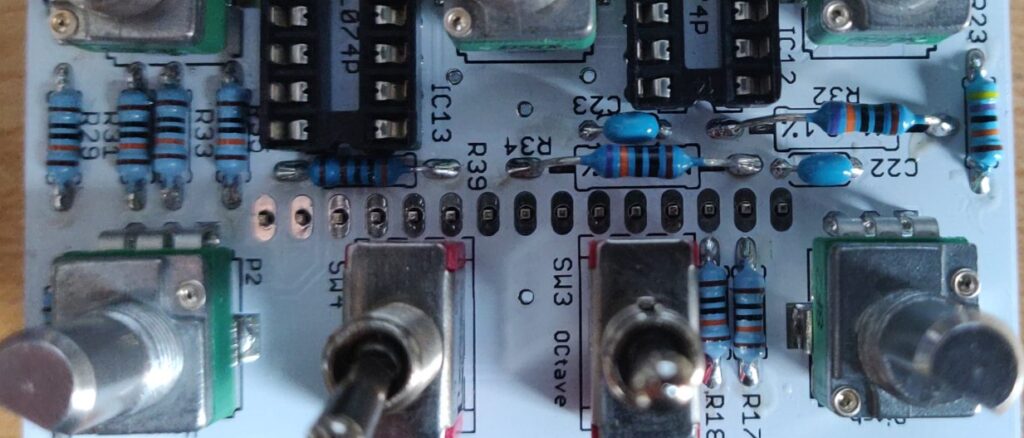
I slapped in all the capacitors and various other through hole parts without fear of explosions, and then it came time to get the switches and pots on this puppy. So i threw them in, and got the panel nice and snug before soldering (YOU KNOW THIS READER)…
…And everything was going along swimmingly. Look! I even have pictures to prove exactly how swimmingly it was going!
Looking good fellas, looking good!
But hold steady there my lion-hearted reader, before this build started swimming, it looked scary.
See, our good friend(s?) at SSSR made a beautiful build guide. And at a certain point, the build guide directs you to attach to the two top potentiometers, and the LEDs. So what did I do? I threw every last front panel piece right on there. Why? Because I’m a chuckle-head.
No big deal right? Sure. Besides the fact that I hadn’t soldered any of the headers to connect the boards together… WHAT HAVE I DONE.
OK OK, deep breath. It can’t be that tight between the parts, right? This will be easy…
Oh man that's a little tight... I'm sure I can handle it...
OK OK, not bad not bad. That has to be the worst of it…
Oh man... I gotta slow down.
A few deep breaths and a steady hand later… We did it. And no plastic was burnt in the soldering of this module! CHECKIT.
Not bad not bad, but how about that terror zone?
Phewwww... That was a close one. LITERALLY
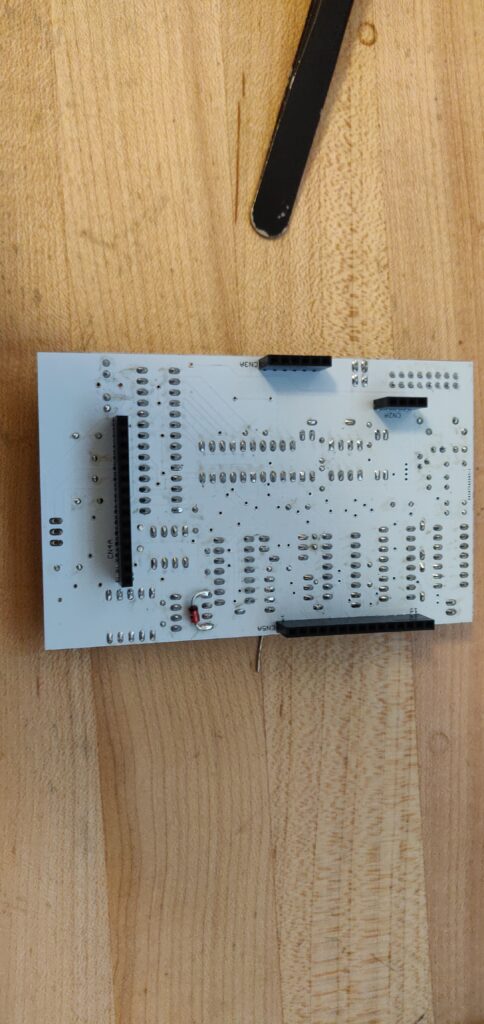
Crisis averted. But boy was that a close one. And there ain’t much worse than de-soldering on a white PCB. Yuck.
Testing and Troubleshooting
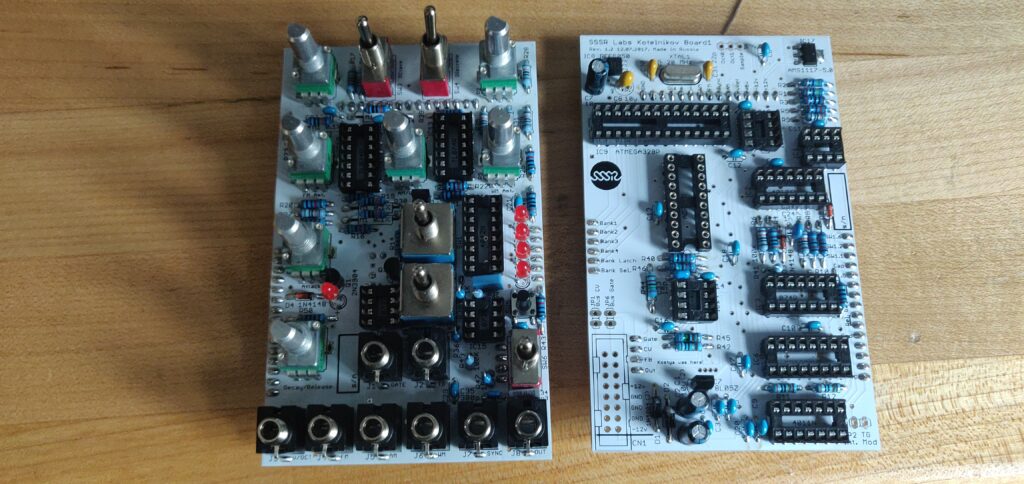
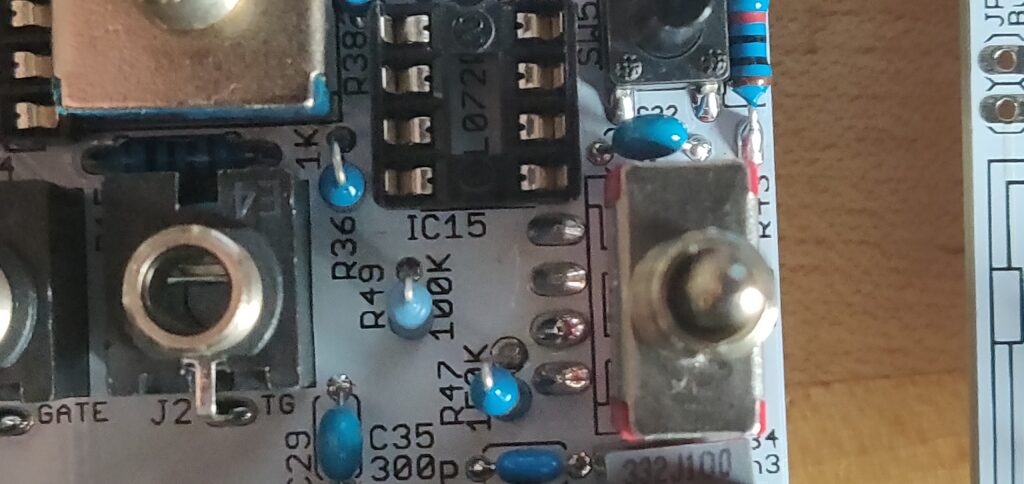
Now that all that finicky business is done, it’s time to plop those ICs in their sockets and get this puppy fired up!
Very clean, love the way this guy looks.
Beautiful! There was some strangeness near the end, as there were two chips that weren’t listed in the BOM. This was easy enough to figure out looking at the part numbers and what these parts did. So after slapping the two mystery ICs in place, there was one last mystery diode hanging around. I figured this was a misplaced part, and fired the thing up immediately.
And it was working great! Almost perfectly… but there was some strangeness when the switch was set to AD for the transient generator. So I got to googling, and found this little treat on the SSSR website.
The last PCB version of SM042 Kotlenikov module, revision 1.2 was reported by significant amount of users to have various issues with the TG. This applies only to DIY kits, since all retail modules are based on revision 1.1, and only recent units are made using the same PCB.
Ahh, OK so I didn’t goof anything up, it’s a problem with the mystery ICs. My dear friends at SSSR, what do I do now?!
I am not sure what a piggy-tailed diode is, but my god do I love that sentence.
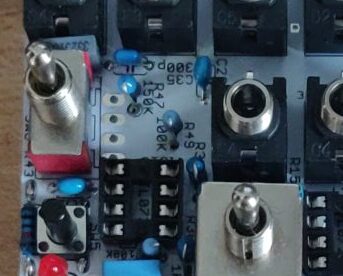
Ahh, the mystery diode makes it’s triumphant return!
Piggy-tailed and ready to rock!
Oh yeah! Now we’re talking. Once that filthy little diode plopped into place, the Transient Generator worked perfectly. Now we can get some noises out of this thing.
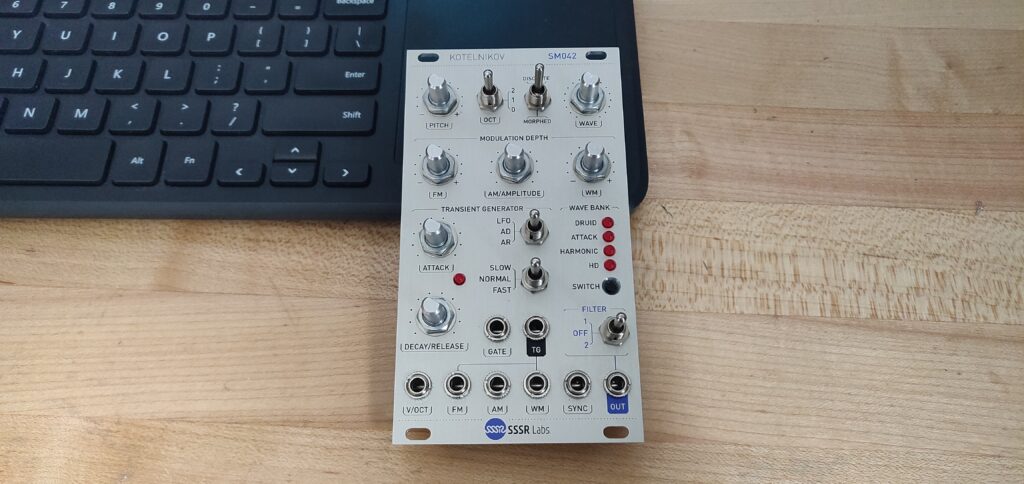
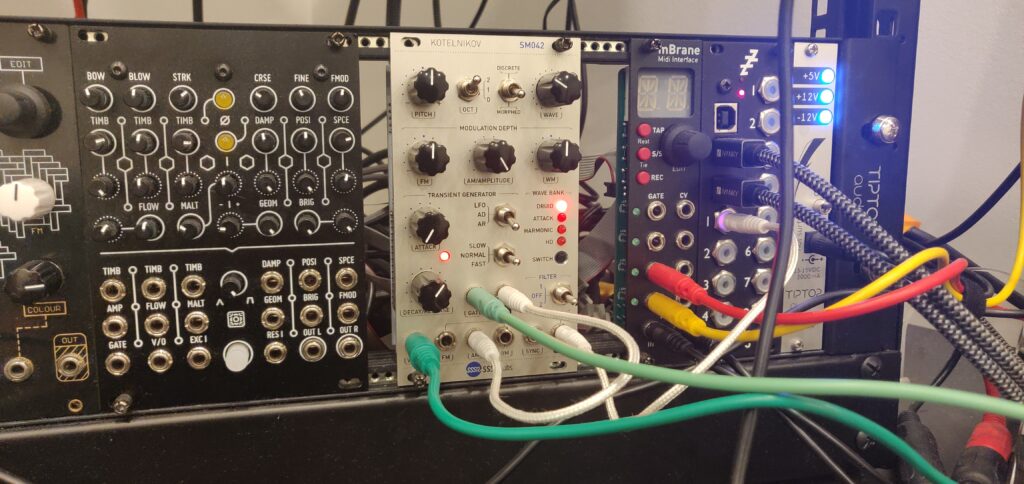
All Done!
And my goodness does this thing sound pretty. It makes me sad, because these kits are aren’t easy to come by these days. And as much as I love this module, I don’t want to pay full price. I want to pay with my labour!
Look at that puppy hum! Just look, you're not allowed to hear it.
And that be about it folks! Thanks for surfing these wave tables with me, it sure was a lot of fun to put together. The build guide made it a cinch. The only real issues I ran into we’re due to my laziness. RTFM people.
SSSR KOTELNIKOV V1.2 BOM – Gotta have a BOM people! There is a mouser cart in the top right corner of this PDF.
TG Issues Support Page – Required reading if you’re rocking a V1.2 kit. Make sure you get your piggy-tailed diodes in order! (I can’t stop saying piggy-tailed diode)
DivKid KOTELNIKOV Demos – I put together a little sound clip, but it sounded awful. So I defer to our good friend Ben. Show us what this thing can do Ben!
I really love the way this module sounds. You can get whacky with the LFO internally modulating, and if you don’t want to do that, well you’ve got yourself a free LFO/AD/AR! Lucky you! Can’t recommend this VCO enough… which doesn’t really matter because you can’t really find them anymore!
And stay tuned folks… there’s a Typhoon on the horizon…
I JUST CAN'T QUIT YOU JAK PLUGG
ANNNYYYWAYS. Thanks for reading my fellow sound junkies. It’s been a treat. Have yourselves a beauty week, and keep it ABSOLUTELY samesies.