monome. first, you don’t capitalize when you should. And I forgave you for that.
Then, you let the teletype slide on the DIY. So, naturally, I was forced into building one of those, which I’m sure you remember from the build diary I posted on this very site. (PS… check that post out by clicking here. )
Now, with you knowing full well how norny I am, I find out, THROUGH SOMEONE ELSE NO LESS, that you can just “slap a shield on a Raspberry Pi and you’ve got a DIY monome norns shield, and it works just like a regular norns”.
WHAT.
OK, fine. You win. Here we go.
And the Build Begins...
Lets dance Monome. Sorry, did I say it wrong?
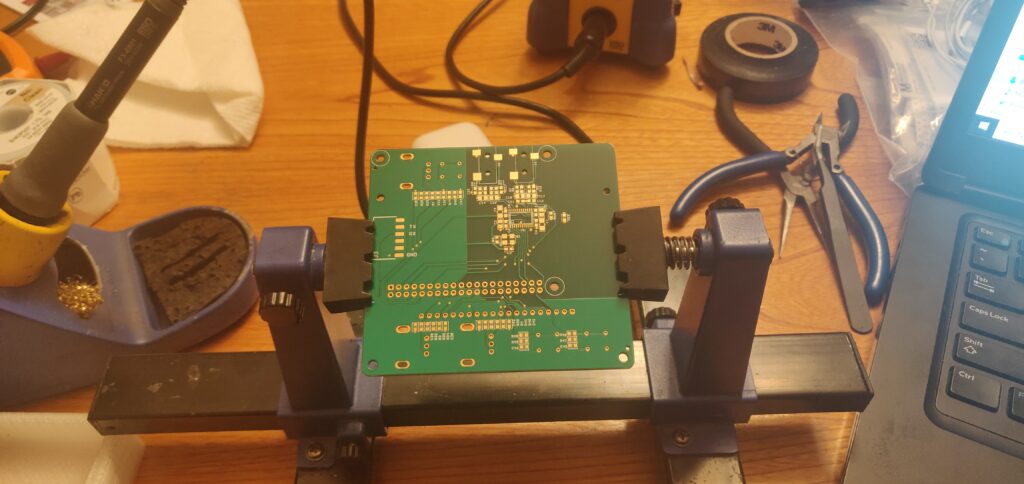
As always, and as we saw with the last monome product we DIY’d on this lil’ blog, its a well thought out and engineered product. Kudos to you monome, these builds are always a joy.
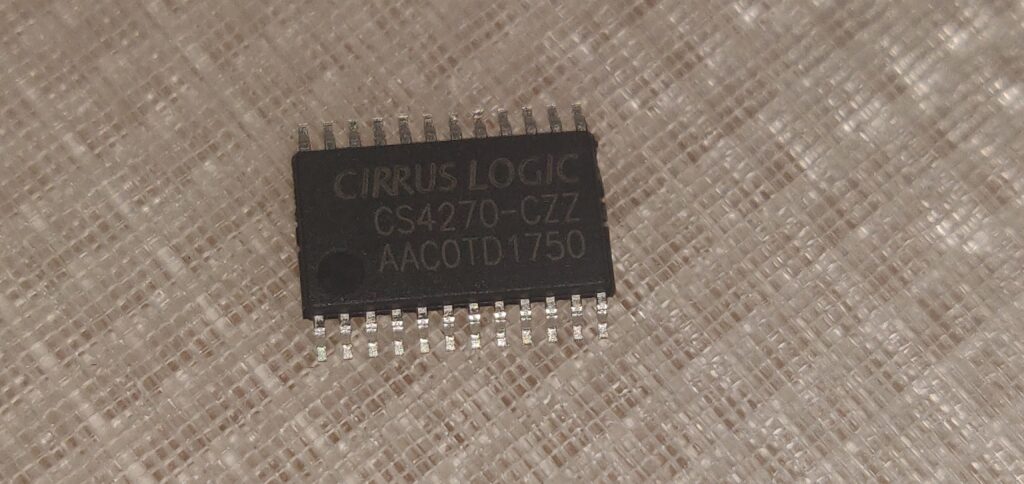
The only joyless portion of the build was sourcing the audio codec. It is the only chip on the whole shield, and it is sold out EVERYWHERE. Octopart lists 0 stock for the CS4270-CZZ across all suppliers as of September 26th 2021, and the same was true when I built these norns in April/May.
So, I rolled the dice and sourced them from China. It cost about $60 CAD for 2 of these chips. To put this amount in perspective, the chip would usually cost $8.45. And not only was the price outrageous, but there is no way of knowing if it’s an authentic chip until it arrives.
So I was a little nervous when this arrived.
Is the Chip Real?
Does that say... WIFI Light Bulb?
At this point I thought, “well, they got me”. But there wasn’t a light bulb inside… there were two chips in a plastic baggie. I was less nervous now, because they looked pretty legitimate.
Passes the sniff test...but how about when we put some juice through it?
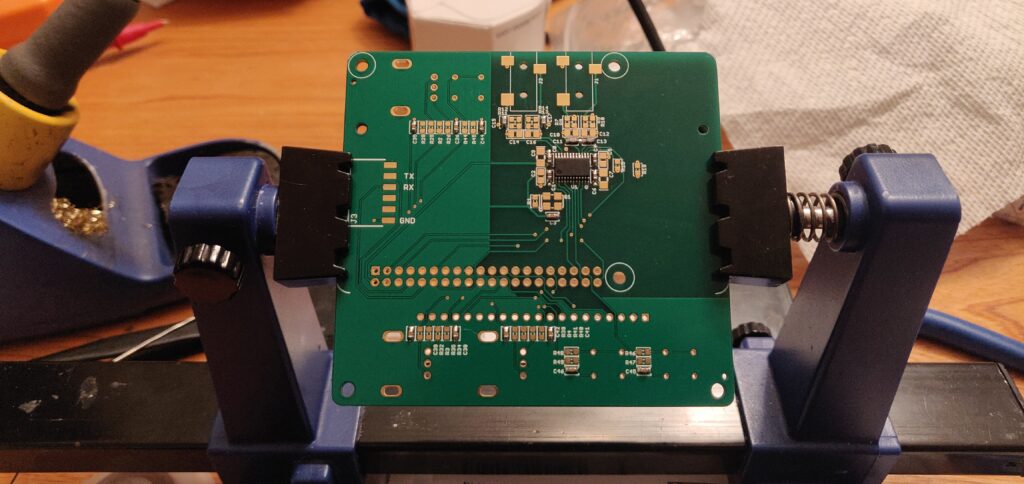
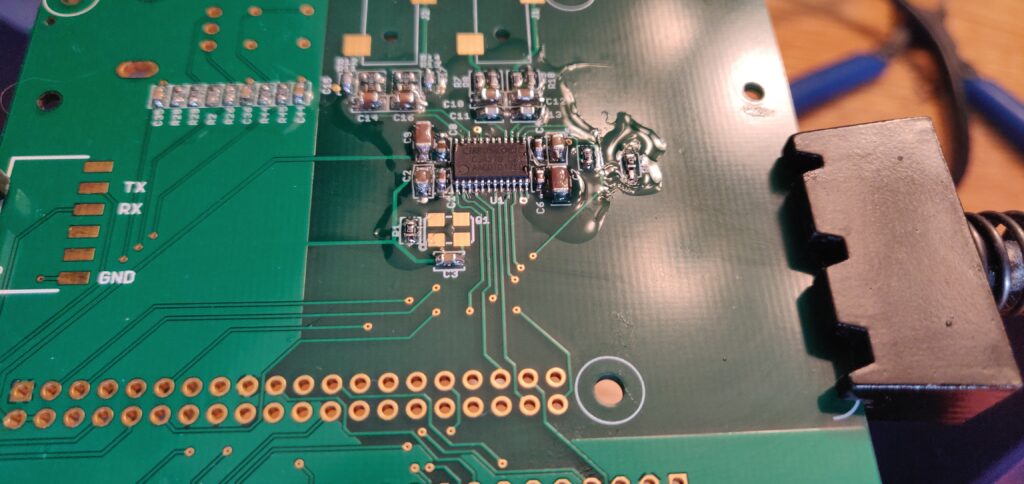
Is this just a chip they stamped to look like what I wanted, or is it the real deal? Only one way to find out. Let’s get this guy soldered down.
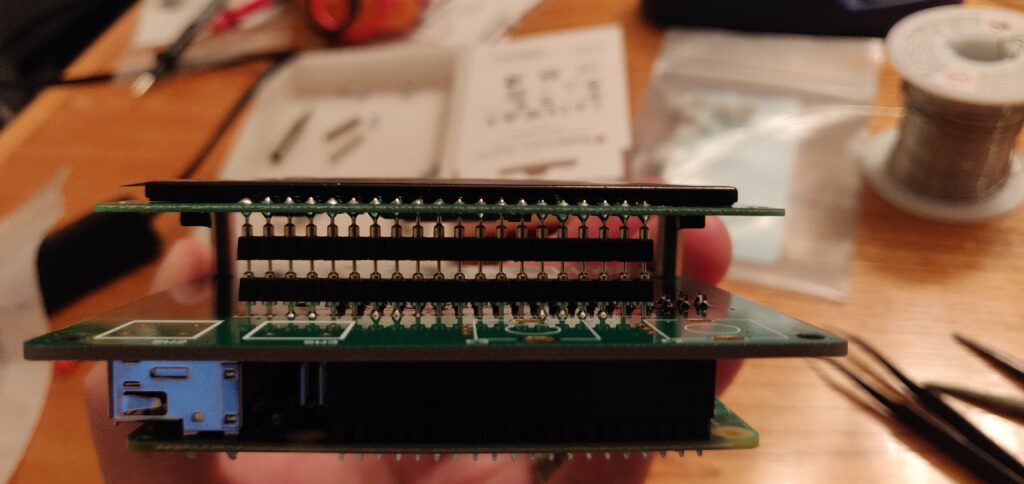
Now it’s time to get this shield attached to the Raspberry Pi. The “hardware” parts of any build I find the most tedious, and this one was no different. In saying that, I do not mean it is not well designed. It’s great! I just hate digging for spacers that have that millimetre difference so everything sits “perfectly”.
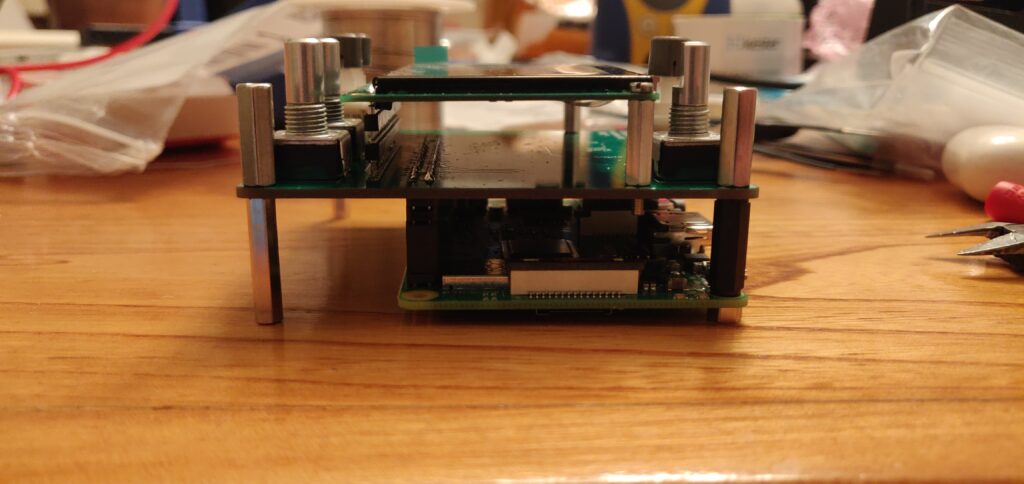
Now that I’m done whining, look at an example of fussy hardware work. To get the display sitting perfectly, at least in the metal cases from Pusherman, you’ve gotta do some fandanglin’.
This was the first build, and as you can see, I had to solder everything as "extended" as I could.
I also didn’t have certain spacers that would have made everything hang together “just right”, so the build that I kept for myself looked a little jankier than the second round.
Not perfect, but it's mine and I love it.
Firmware Flashing
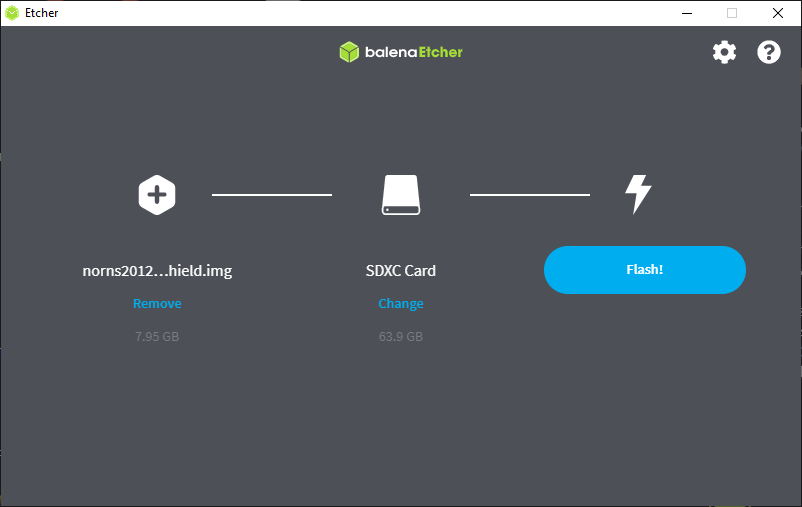
The only thing worse than fiddly hardware soldering is having to flash software. But, this process was beyond simple for the DIY monome norns shield. You download a program called balenaEtcher, drop the .IMG file in, plug in your SD card, and click flash.
Just like that. No AVR, dude!
And it truly was that simple. The next thing to do, is to power it up! Fingers crossed that audio codec was real…
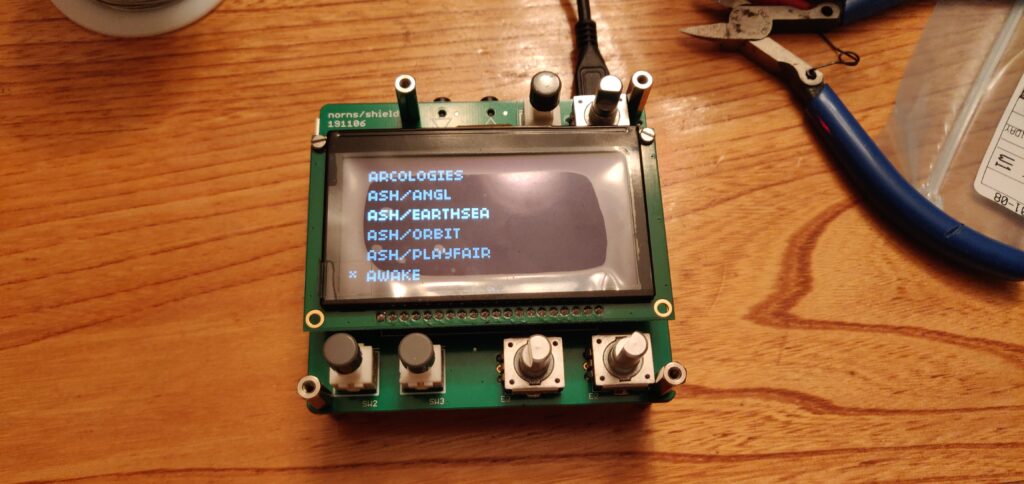
We have life!...but do we have sound?
And luckily, we have sound! It is crystal clear, so I have no doubts the chips were genuine. And they better have been at more than 4x the retail price.
For those looking for a trusted source, I cannot find the dealer I used any longer, sadly. But, if you end up sourcing through eBay or Alibaba and the like, be careful. Try to find someone with tons of good reviews who has been around a while. Be wary of deals that are “too good to be true”. Remember you are going to pay a premium, and you may even receive fake parts. Fake parts can damage circuits. So, keep these things in mind when buying from these sites.
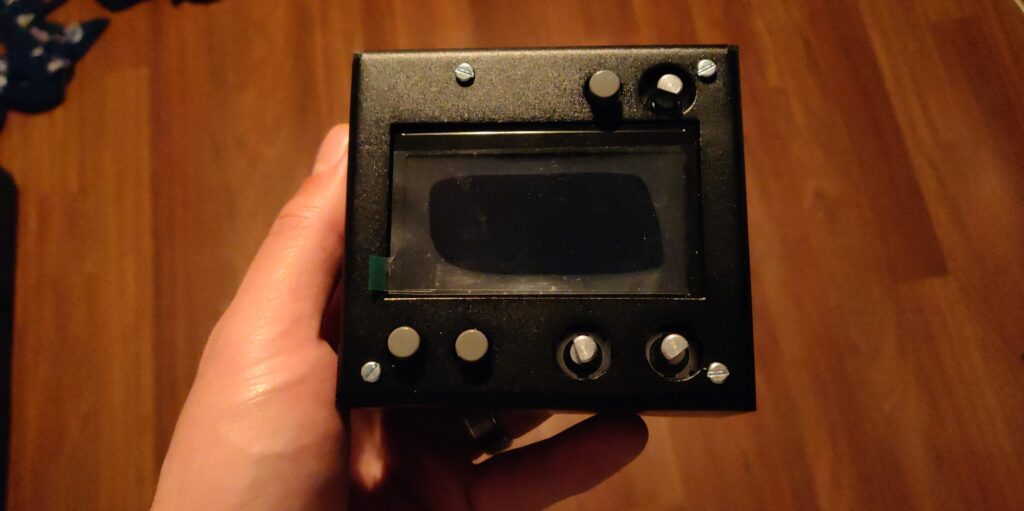
No knobs, but still very nice!
Quick norns Thoughts
And that’s it that’s all for this build.
It was fun, and I highly recommend it to anyone looking to get into the norns ecosystem for a little cheaper with few less knobs and jacks.
As far as the capabilities of the device, and how I feel about it, that is yet to be seen. I haven’t played with it enough to render a proper verdict, but I can say this:
Pros:
Cheaper than the full blown norns, yet still 100% compatible with all existing and future norns apps
Sound quality is great
Tons of super cool apps, to the point where you could see yourself wanting two DIY monome norns shields
Molly the Polly (poly-synth on board) is MPE enabled
Small footprint
Good UI
You can just rip the shield off if you need an emergency Raspbery Pi
USB MIDI support is great, easy and intuitive
Neutrals:
Apps can be rather deep, having access to so many can be a little paralyzing (for me at least)
Can be menu divey
Cons
Smaller footprint means more cramped controls
Less I/O than a full blown norns
The End
Thanks for sticking around, I hope this was helpful for you DIY monome norns shield-ers out there, or mildly entertaining if you’re not as norny as the rest of us. Did I make that joke twice?
Keep yourself coming back to stevetravale.com for some quality synth-ey content! See you next Sunday. Have a beauty week and keep it samesies out there.
Your Octopart BOM seems to be private. Can you tell me the correct size for the GPIO email header, that will interface with the male pins on the Pi 3? I see lots of heights and sizes on Adafruit…
Hey thanks for letting me know. It is the Octopart link that was in the lines forum post about the DIY norns. It looks like they went and made it private. In that same post I found this BOM:
Can’t 100% guarantee that it’s perfect, but it’s better than the private one which has nothing, and looks correct to my eyes. There will be lots of different heights, but nothing wrong with cutting it down to size where necessary! I had to fiddle a bit with my own builds, and they still came out nice.

an available alternative to that codec is this part: TLV320AIC23PWR
Your Octopart BOM seems to be private. Can you tell me the correct size for the GPIO email header, that will interface with the male pins on the Pi 3? I see lots of heights and sizes on Adafruit…
Hey thanks for letting me know. It is the Octopart link that was in the lines forum post about the DIY norns. It looks like they went and made it private. In that same post I found this BOM:
https://octopart.com/bom-tool/IAPY656h
Can’t 100% guarantee that it’s perfect, but it’s better than the private one which has nothing, and looks correct to my eyes. There will be lots of different heights, but nothing wrong with cutting it down to size where necessary! I had to fiddle a bit with my own builds, and they still came out nice.