Hieee it’s your pal Steve here. I still exist. I still synth. I synth hard baby, so don’t you forget it. Now that the obligatory “LOL WHERE HAVE I BEEN” part is done, let’s get a Ripples v2 DIY going.
V2!?
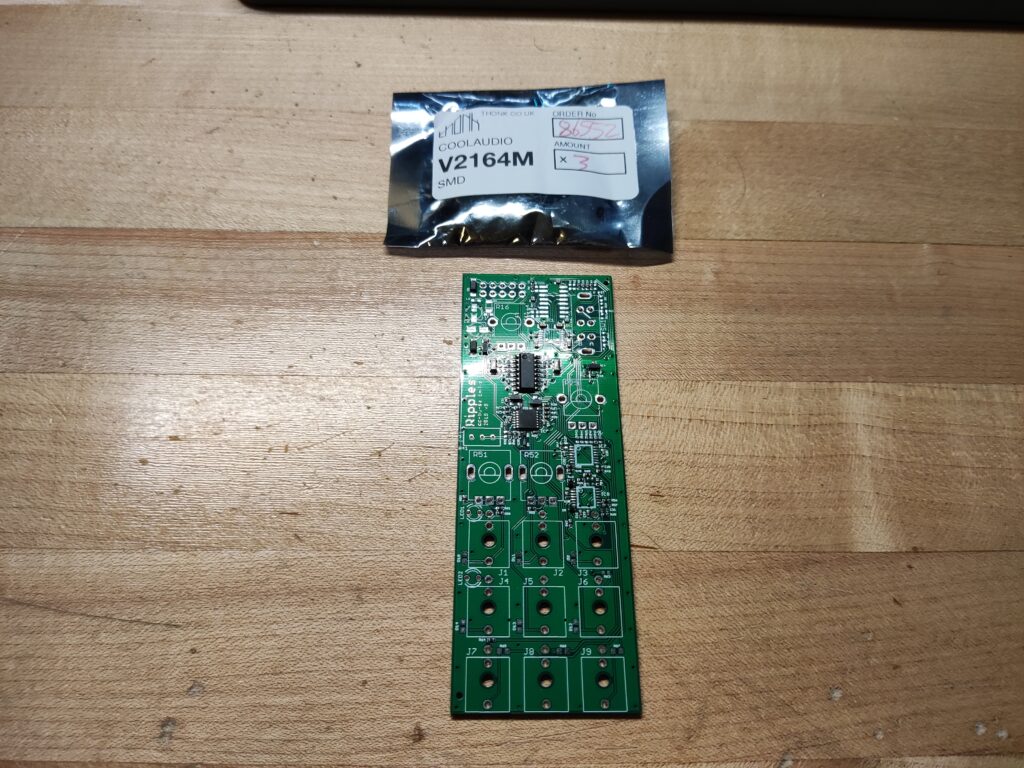
You know it! Ricky is back, and it has some cute new tricks up its sleeve. I snagged a PCB + Panel combo from our friends over at Pusherman, thank you Mr. Pusherman. And thank you for pre-populating the SMD components in a way that made it OH SO FUN to hand solder the missing pieces.
It wasn't fun, I was being a sarcastic baby.
It had been a minute or two since I’d soldered a 0402 sized component by hand, so I decided to start slow with the big old V2164M VCA chip.
Everyone's favourite chip.
And not to be this guy, but I think I nailed it.
Or at least semi-nailed it.
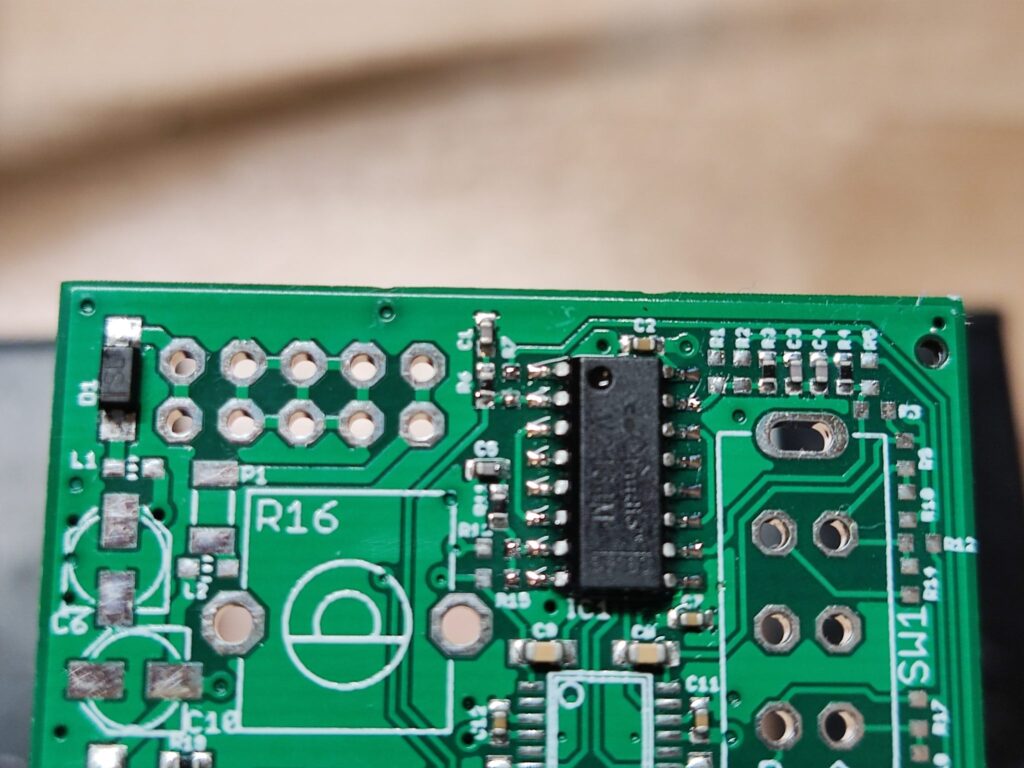
After that, it was time for the two OP amps. And these OP1679s have such tiny lil’ pins. It took all of my prescription strength glasses to get them down without a microscope, but they went down like a drunk child and it was time for the nightmare to begin.
0402, here I come.
Probably Don't Do What I Did, but, It's Doable
The heading says it all folks. If you choose to get your Ripples V2 diy on, get a rework station or a hotplate, some solder paste, and don’t solder 0402 components by hand. Maybe sometime soon there will be a 0603 remix, but friends don’t let friends solder 0402 by hand.
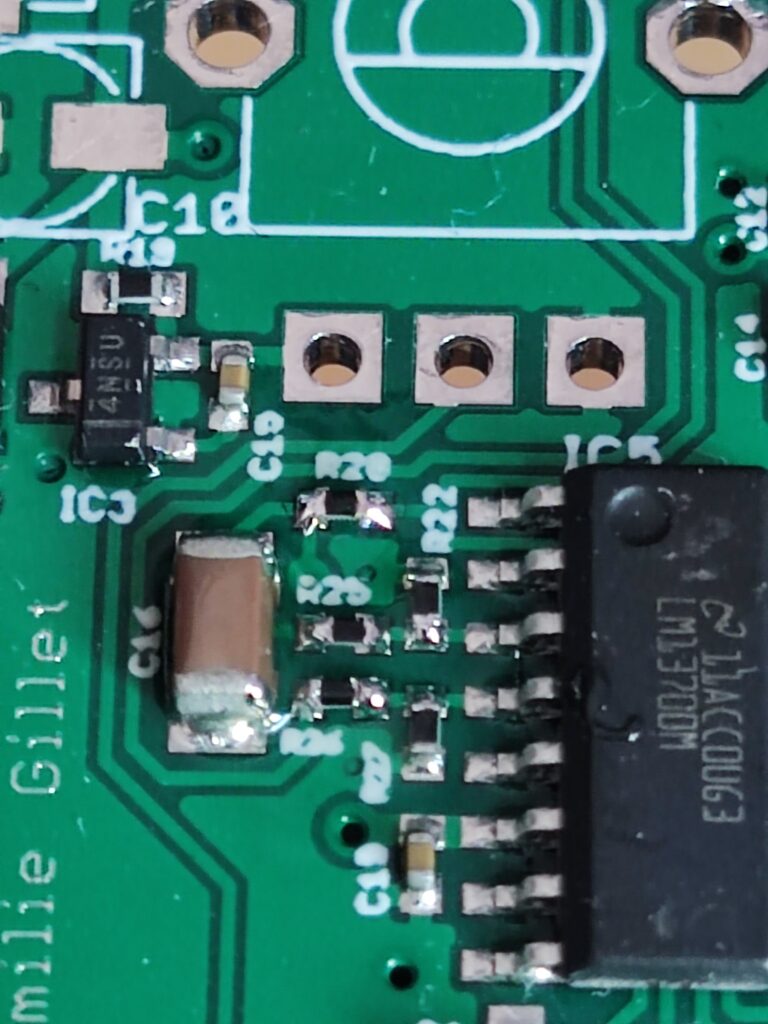
Just to complain a little further about pain caused by my own decisions, look at how the pre-populated SMD components make it darn near impossible to get an iron in there without making a mess.
Can it be done?!
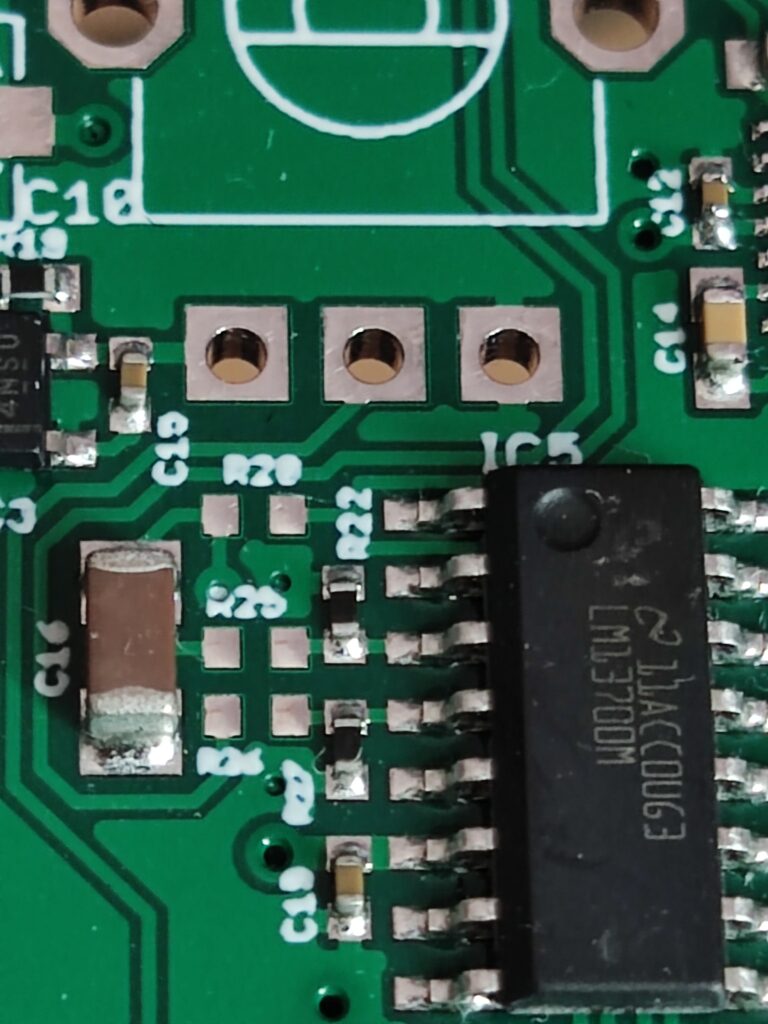
No paste, no worries. I got fluxed up, and went to work on these lousy resistors. And not to be this guy, but I rule.
YAAASSS. No fun, but all done.
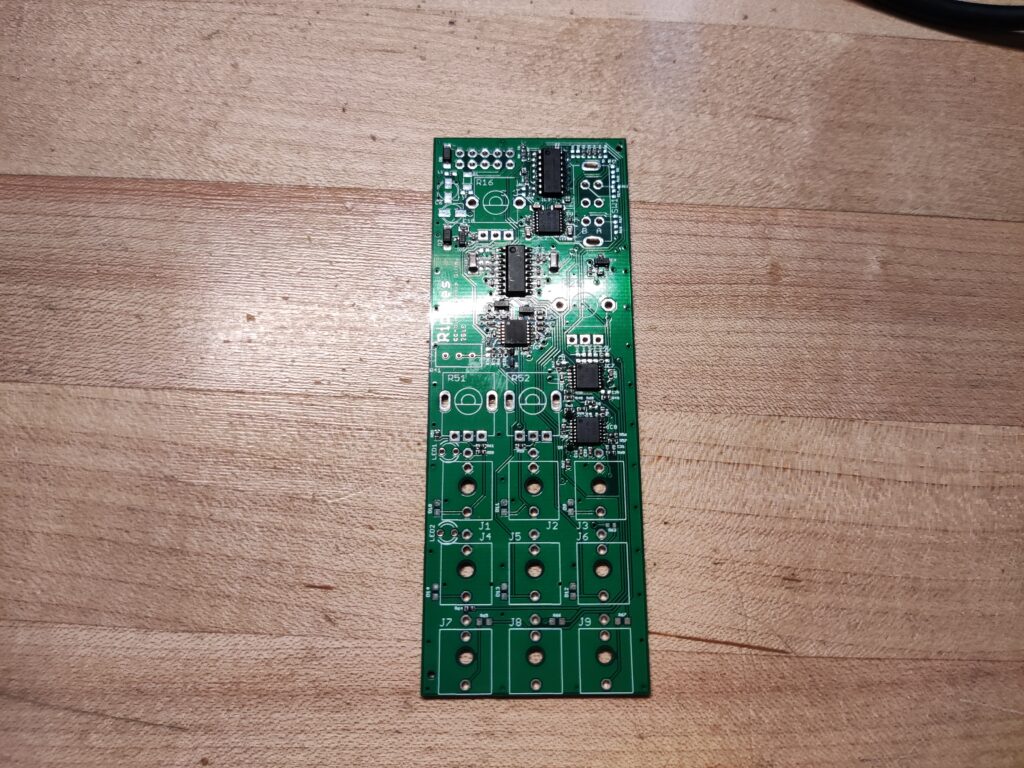
That little doozey was one of the tougher parts, but a few resistors here, a couple caps here, and bingo bango bongo, we’re almost there.
The SOD523 footprint diodes were nearly impossible, but we'll leave that misery between me and my bench.
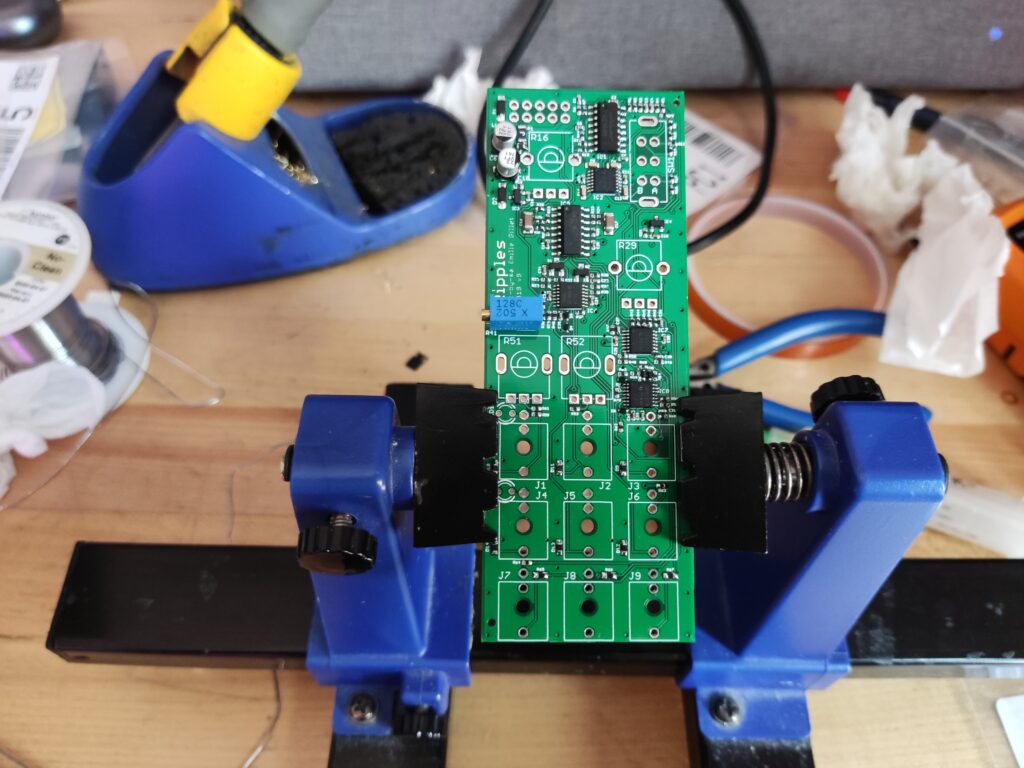
Through Hole And We're GOOD, Right?
You know it! And as always, fit the parts, attach front panel, and then solder. That way everything is niiiiice and snug.
Looking good and ready for the limelight.
And I am happy to report, this little guy is filtering with the best of them. The second input is gnarly, and you gotta love switchable slope control.
Ain't she a beaute?
And that’s it for this week folks!…Or this month with how I’ve been posting lately… I’ll try harder, I swear. But it’s the summer in Montreal, so like, I’ll try as hard as I can.
Thanks, as always, for reading. I hope it was enjoyable, helpful, or even just bearable. Any questions let me know and I’ll do my best to get back to you!
I went your same route and promptly fried one or two op amps. Very possibly also destroyed the PCB. I will wait until I get an electron microscope to see if I can salvage it. That is if I ever manage to get replacement IC’s.
It’s wild how tiny these parts get. If my prescription gets any worse I’ll need to borrow the hubble to get these things soldered. Best of luck on the salvage operation!