Music Thing Modular CONTROL: Build Diary #26

Sorry team, I’ve been biffing on the weekly post thing. Forgive me, things have been out of my CONTROL…

…SO LET’S GET BACK IN CONTROL WITH A MUSIC THING MODULAR CONTROL

Music Thing Modular CONTROL DIY Kit
See what I did there? You know you missed me.

Music Thing Modular CONTROL Kit

Our friend Tom is getting all SMT-ey (SMD-ey?… I’ll never know), and I love it. These were built for my pal Herman Kolgen, but if it were up to me I would have scoured the net for some bare PCB. Because you bloggo’s know I love my surface mount. 

Irregardless, the kit came with every little piece I needed with all the surface mount pieces already mounted and melted onto the PCB. Before I knew it, I was in the home stretch attaching all the hardware.

Music Thing Modular CONTROL DIY PCBs
BUT WHAT ARE THOSE WEIRD HOLES? Oh... you'll see.

It is a rather straightforward build, but our boy Tom put together a lovely video to help people through the steps. I’ll link that here now.

But...Should You Listen to Tom?!

Yes, actually. You should.

BUT, after I built the first one I just slapped all the hardware in the second immediately, and it saved quite a bit of time.

There are a couple things to be aware of with this build. First, the bi-colour LEDs always throw me right off. The shortest leg on the LED isn’t lined up with the solder mask on the PCB:

Confusing Bi-Polar LEDs Shot
You need to look for the flat side in this case.

Second thing to watch out for is the pot placement. First, prepare your pots by putting one of the nuts onto the pot’s shaft, and bend back the two tabs on the back of the pot so they look pretty like this picture.

Music Thing Modular CONTROL Potentiometers Prepared
So pretty.

Once the pots are in, they will actually push through the PCB and poke out on the other side.

When you place the panel to start soldering, you will have to fiddle with the nuts on the pots to get the PCB nice and parallel to the front panel. After they are in, and you have them nice and parallel, I would recommend fastening all four of the pot nuts to the PCB. This provides a good “sandwich” to solder from.


Profile PCB Panel Shot of CONTROL
Now THAT'S a sandwich.

One other note with the pots, you’ll want them to sit in such a way that there are maybe 3 “rings” visible above the nut on top of the panel. This, for me at least, has the pots sitting perfectly parallel with the PCB, and allows the knobs to twist smoothly once attached.

Does it Live?

C’est une bonne questionnne.

Yes! And quite well actually. This thing is gnarly.

Music Thing Modular CONTROL into Oscilloscope
Bonus points if you can spot the 3D Benchy.

BUT WE DIDN’T EVEN ASK OURSELVES WHAT A MUSIC THING MODULAR CONTROL IS YET, DID WE?

Hit that explanation Tom:

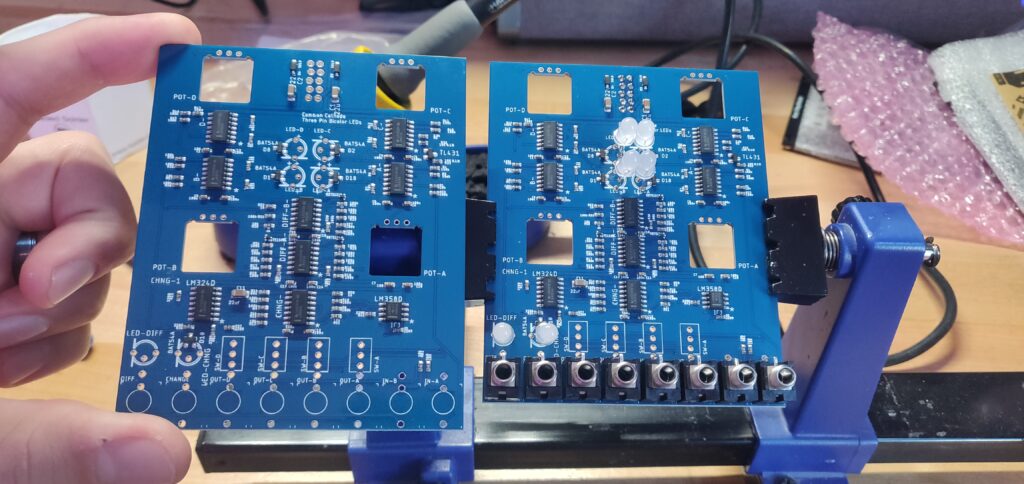
Control has four big knobs that output voltages. Connect those voltages to modules, and you have high-precision, intuitive control. Connect those voltages to several modules, and you have interesting, repeatable confusion.

  • The first two channels (top two knobs) are also attenuators if something is plugged into the leftmost sockets.
  • The voltage on each channel can be adjusted via the switches: 0–5v (middle), 0–10v (up), or -5v to +5v (down). When using a channel as an attenuator, keep it in 0–5v or you’ll get weird gain or offset (which you may want).
  • There are two extra outputs. The Change output will output just the changes as they happen. If a knob is turned quickly to the right, it will output a little burst of positive voltage. If a four-handed performer turns all four knobs quickly anti-clockwise, it will output a chunky pulse of negative voltage. Patching Change into an input creates a primitive clock.
  • Diff is a difference rectifier, inspired by NonlinearCircuits, but with a slightly different circuit. It compares the difference between 1&2, and between 3&4, and will then finally output the difference between those two differences. The aim with this output is to create a bumpy, unpredictable positive only voltage between 0 and 10v. It’s not random, but it’s not easily predictable, either.
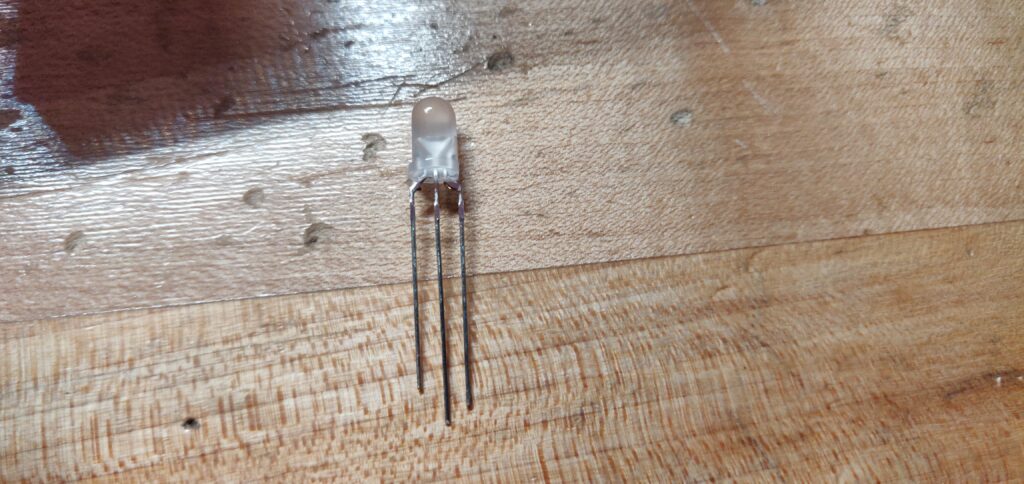
  • Each knob has its own bi-colour LED to provide visual feedback on how much voltage is being output. There are also LED indicators for the Change and Diff outputs.

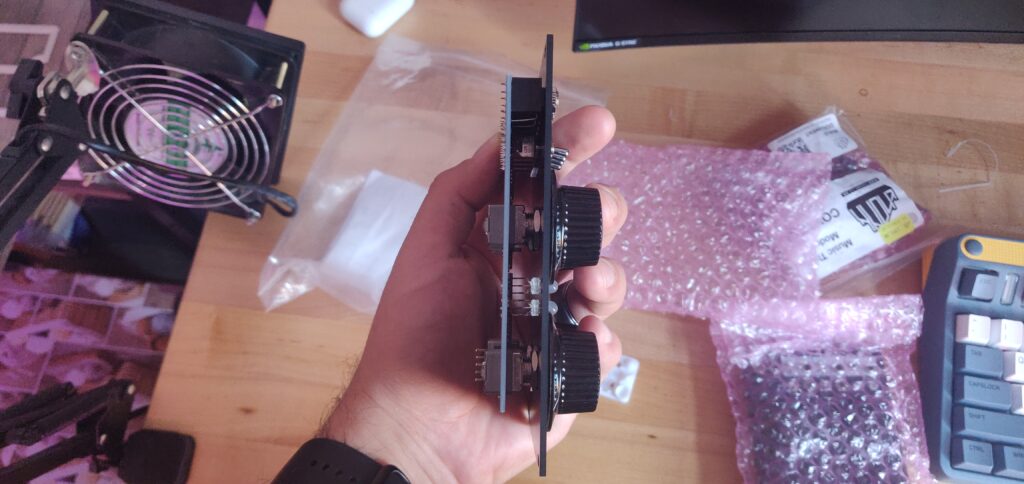
The circuit is a stack of LM324 op amps, and the pots are nice high quality TT Electronics P260T – as used in SynthTech modules and many 5U synths. They have steel shafts bolted to the front panel and they feel great.

The module is 24mm deep.

It does a lot for being such a simple module. I love it. If I had room in my setup for something like this, I would absolutely be all over this module.

Alas, I’m downsizing Eurorack in anticipation for a new format I will be playing with shortly, so these Music Thing Modular CONTROL module’s are not long for my personal rack.

But, they sure are pretty.

Two Complete Music Thing Modular CONTROL Modules
Maybe one day I'll have a big old rack, and we'll meet again CONTROL.

And That's It!

But, barring any more unforeseen traumatic life events, we should be bloggin’ hard every week from here on out team. Thanks for sticking with it if you’re still reading out there!

Go read about Plinky Synth if you haven’t already, it’s an absolute beaute. If you want more Euro-Rackable goodness, check out everyone’s favourite DIY 4MS SMR build! What a hoot that was.

Annnnnnnyyyyyyyywayyyyyssssssss. Have a beauty week out there team, and keep it as samesies as humanly possible.


Leave a Reply