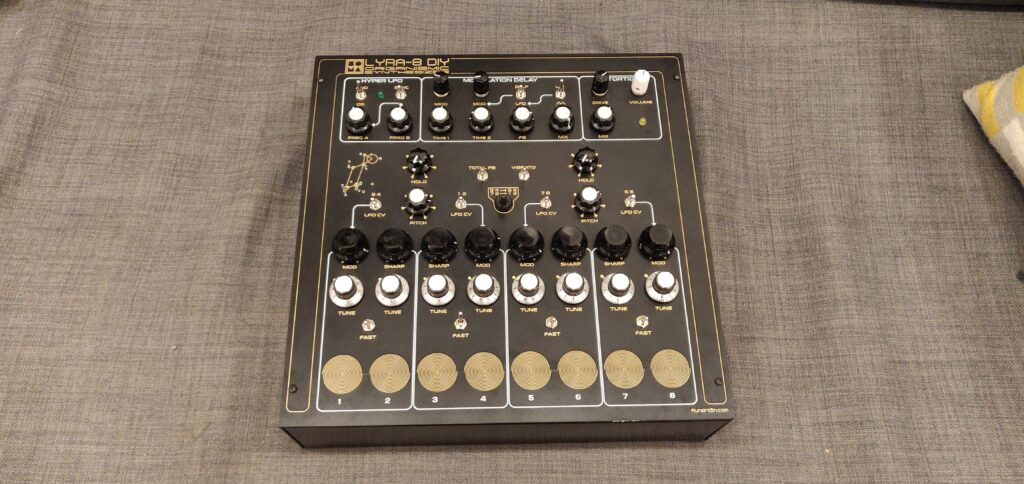
The day is hear my friends! After several coats of anxiety, and then a final coat of giving up on it being perfect, it is complete DIY LYRA-8 is complete.
BEHOLD. LYRA-8, DIY STYLE.
Looking great right?
Just fiddlin’ with ya folks, lets talk about how we actually got this sucker boxed up.
Panel Swap
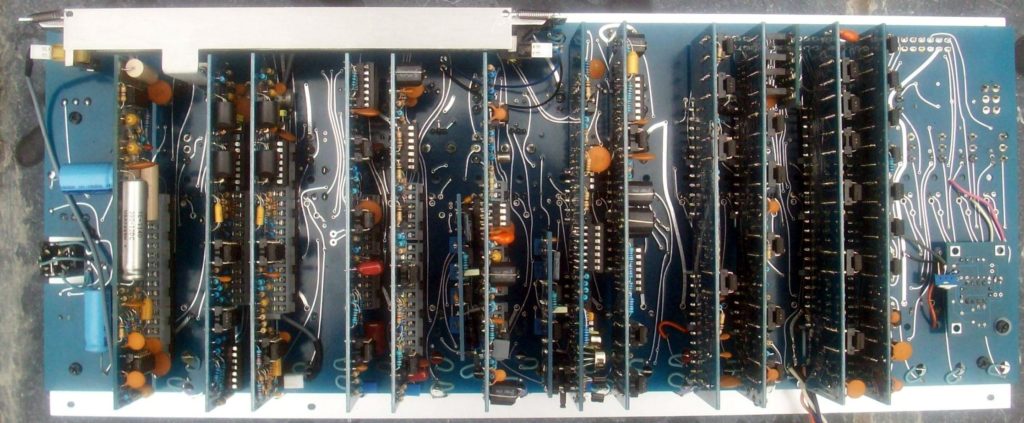
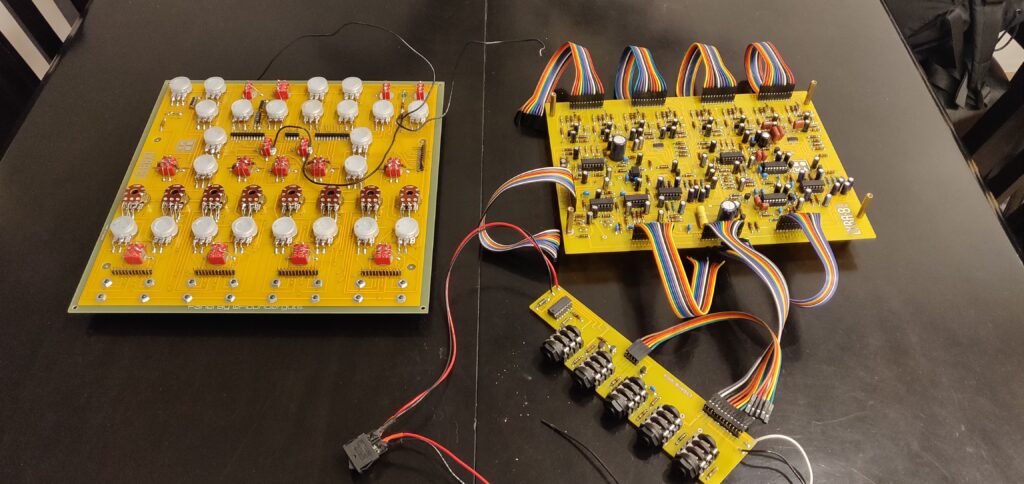
The DIY LYRA-8 build isn’t such a tough build on the PCB side. The front panel was definitely a little rough, but the actual soldering portions of the task weren’t too bad.
The real headache came in when it was time to connect the three board and get it stuffed away in a nice tidy box. And a nice tidy box? That was an even tougher find.
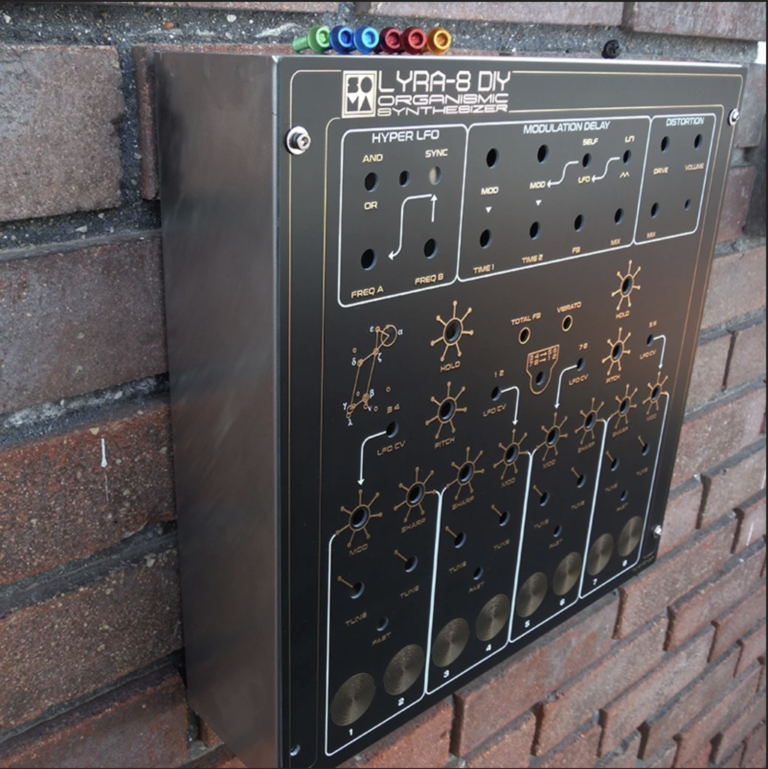
So our friend over at flundrton.com came out with a lovely new panel that not only solved the headache of finding a box, but it also provides a elegant solution to the the thumbscrew touch pads. Check it out!
Looks great, plays great.
And as I mentioned above, it not only looks and plays great, but the panel sits perfectly onto a Hammond 1444-12123 enclosure. It makes the device a little chunkier than the original for sure, but I love it.
Drill Time
I hate drilling things, mostly because the drill I use is from the year 2000, but I did two things to make this easier.
First, I got myself some unibit step drill bits. These things are amazing for making nice clean holes, and they “step” between sizes making it easy to find the right size for your holey needs.
Second, I made myself a little hack template to make sure the I/O board lined up properly.
If the picture didn’t make it obvious enough, I cut up a sheet of regular printer paper and pulled it taught while I stuck the 1/4″ jacks in. I then took this template to the enclosure, and used it to make my holes.
First we line them bad boys up...
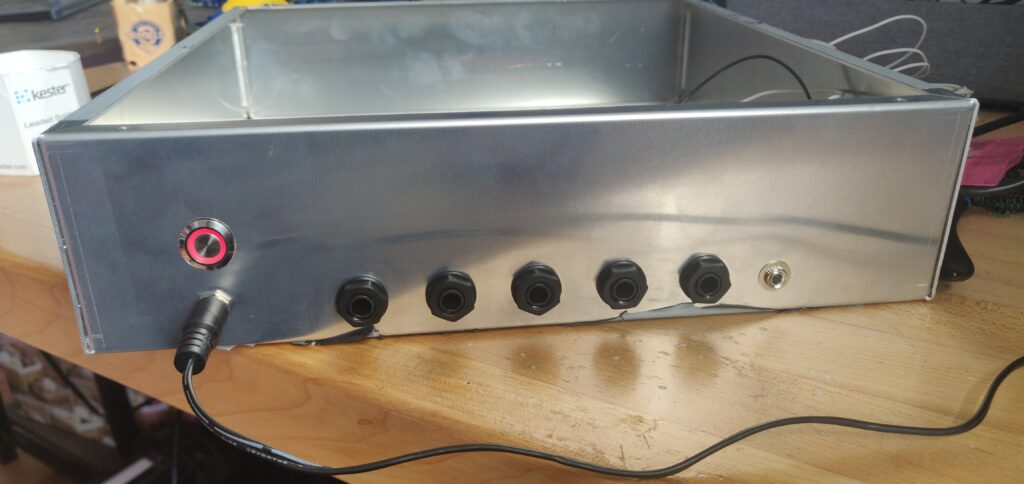
...then drill em out and mount that I/O board!
I also grabbed myself a neat little red ringed LED button for power. As I’ve said many a time before, like in my NDLR review, you gotta have a power button. Things that just plug in and immediately turn on feel…wrong.
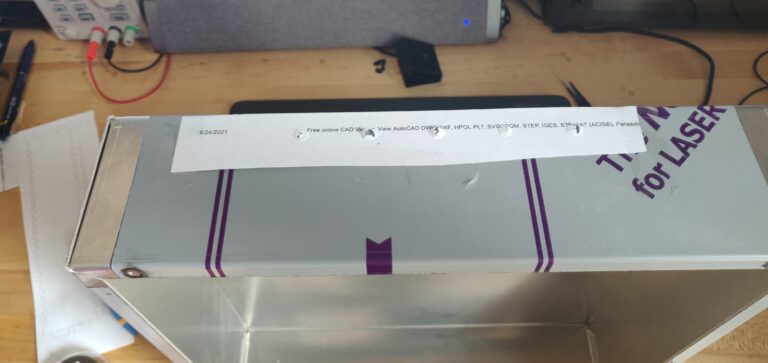
Also, the enclosure needed new holes drilled for the flundrton panel. Although it was created to Hammond specs, a new set of holes needs to be drilled on the lip of the enclosure. This will make sense if you have the Hammond Helix Panel from flundrton, because it is plain to see where you need to re-drill the holes.
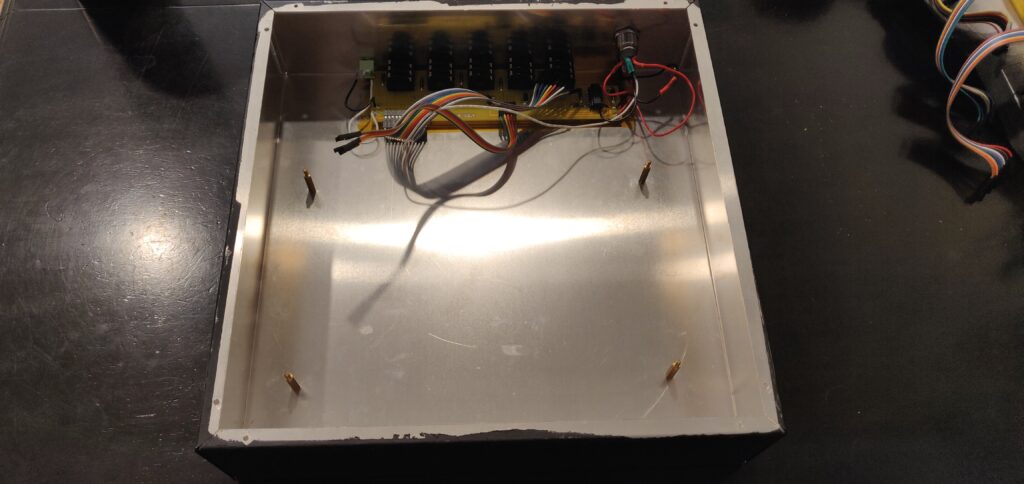
And finally, the last task for my weary old drill was to get 4 holes on the bottom of the enclosure drilled to mount a few standoffs. These will be used to securely attach the mainboard to the case upon final assembly.
Gotta stuff this all in there, thankfully the Hammond enclosure gives plenty of room.
Painting the Enclosure - The Lazy(?) Way
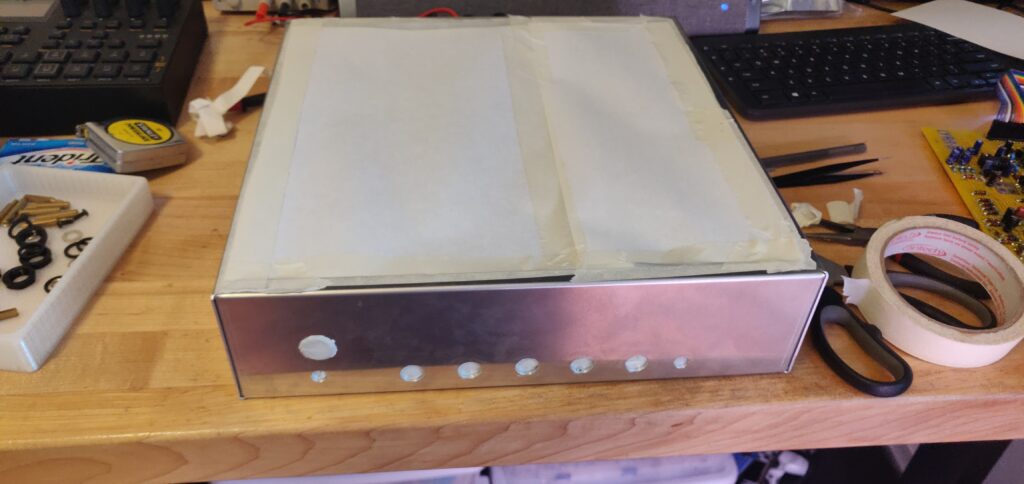
Next, it was time to paint the enclosure! Now, I was impatient and decided to mount and solder the power button first. But, in order to properly paint this thing, I should have de-soldered the wires so there was nothing but Hammond to paint.
I opted for the lazy method, which probably ended up costing me more time and effort. Irregardless, without de-soldering anything, I taped down some paper on the front of the enclosure. I also taped the holes from the inside and put a nice thick layer of tape around the power button that I refused to remove. I used a sharp knife to cut the excess tape from around the button.
Nice and dicey! Just the way we like it here.
It took a few coats, but eventually we got a nice matte black look.
Mmmm love that matte black.
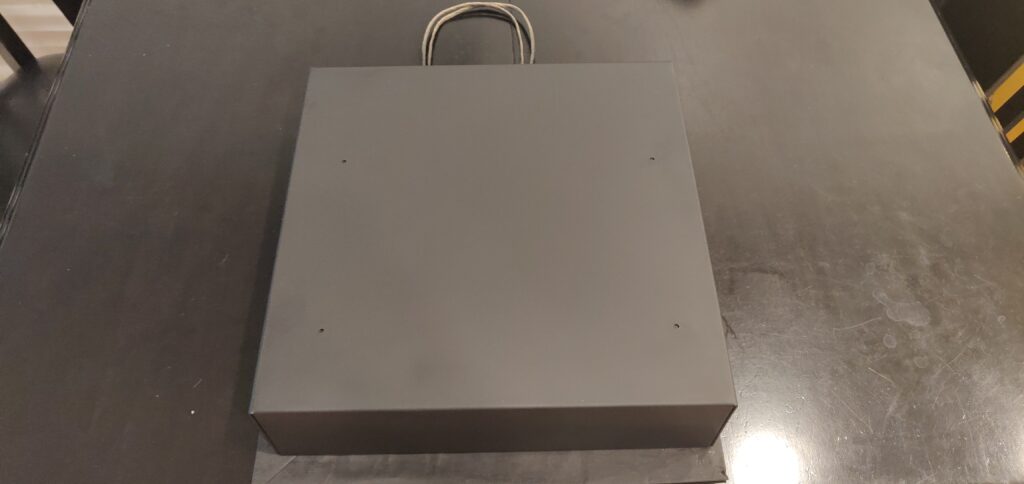
After several 72 hour waiting periods and several layers of clear coat, I decided it was never going to be perfect and it was time to box this thing up once and for all. So I got my little standoffs installed, put down some kapton tape in places I was worried there might be an issue, and went on my merry way.
Nothing could go wrong now, right?
How Not to Attach Your DIY LYRA-8 Front Panel
So I have a confession to make, I don’t know everything. I actually don’t know much. Sorry to pull back the curtain so fast, but I hope the blinding light of my inadequacies doesn’t scare you off.
I had NO idea how I would mount the panel to the enclosure. Sure, the holes lined up nice, but how would the screw “bite” into nothing? I couldn’t get a nut on the back of the screws, because the panel would be in the way… I wracked my brain about this for days. I kept thinking, how are there not some sort of clips for this?
Spoiler alert, there are. They’re called screw clips based on my googling. And I wish I had known about them before I did what I did.
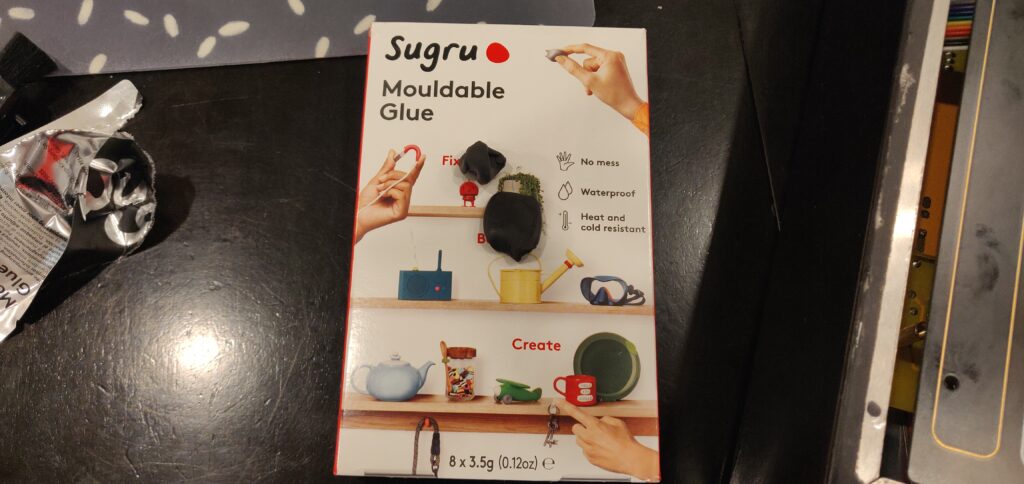
Ever heard of sugru?
Sugru is fantastic. I use it far too often. And of course, I decided to solve another problem with Sugru.
What you should do:
Use screw clips.
If that doesn’t sit flush enough for you, drill the mounting holes slightly smaller than the screw you are going to use, and then using a self tapping screw to secure the panel.
What I did:
I mushed Sugru under the mounting holes, and then stuffed the screws into the soft puddy and let it set.
Which, honestly, was a lazy method as well. I should have mushed the Sugru, then screwed a nice self-tapping screw into the puddy after it had set. Oh well!
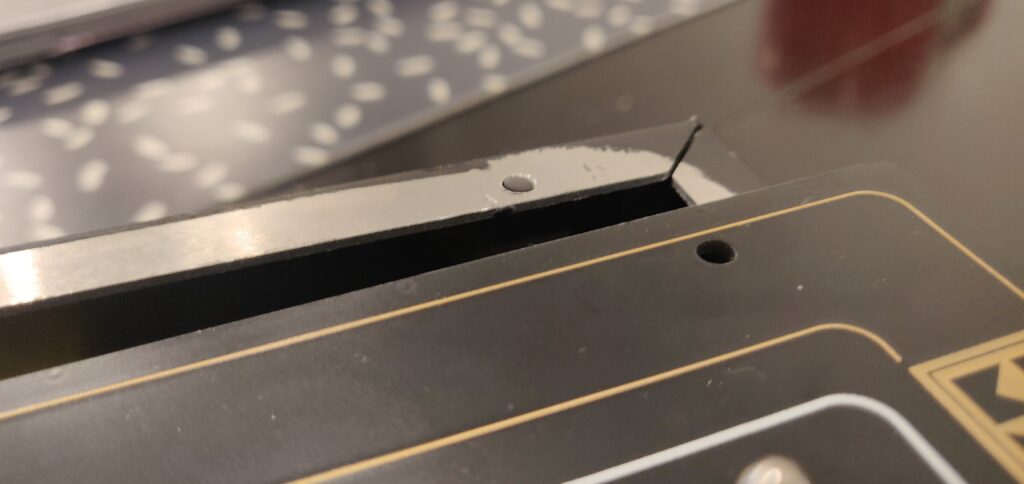
You can barely see it, but that is black Sugru beind mushed through the mounting hole.
It’s not great, but it definitely worked.
So, the lesson here? Don’t let something silly like not having “knowledge” or “skills” prevent you from mushing moldable plastic into any area you deem necessary.
And That's a DIY LYRA-8 Folks!
Looking preeeettttyy snazzy if I do say so myself.
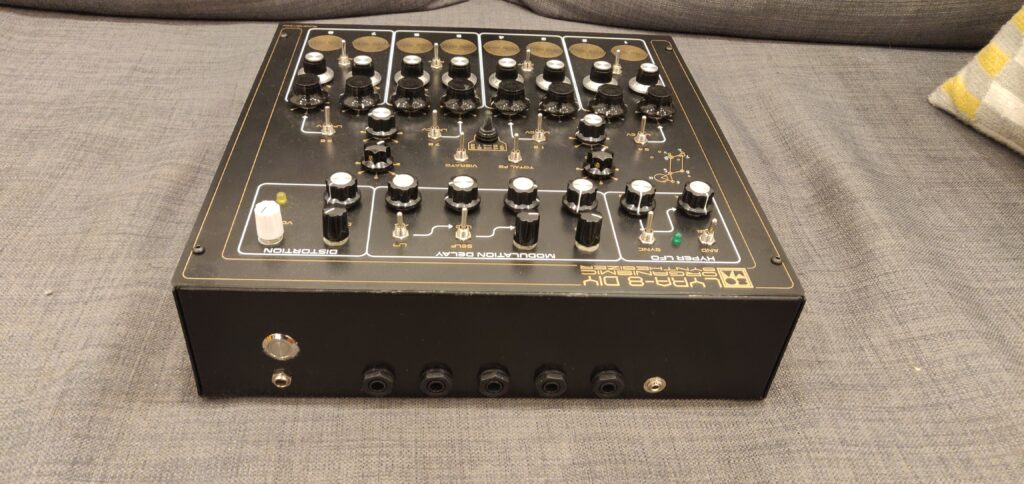
And one more back shot for good measure:
I’ll have to get a sharpie or something one day to touch up the corners that didn’t get painted very well. I also would like to remove my Sugru and use screw clips, but laziness will prevent that future from taking place.
And that is the end my friends! What a ride this build was, and if you want to see the other parts of this series here are the links:
Thanks for reading! I hope this series was helpful to any of you LYRA-8 DIY hopefuls out there, and mildly entertaining to everyone else.
Always feel free to contact me at steve@stevetravale.com if you have any questions or if you just want to drop your second favourite synth DIY blogger a line, I’m here.
Check back next Sunday for some more of the good stuff. Maybe I’ll finally post about the Deckard’s Dream build like I’ve been promising, but you can check out the other parts of that build here and here until then. Trust me when I say, it was worth the 80 hours it took to build.
Until next week, have a beauty one and keep it samesies out there!

Coool!